Converting a PNG to a JPG sounds simple, but it can go wrong fast. You upload a clean image, click convert, and the result comes back blurry, washed out, or surrounded by a strange white background. That usually happens because PNG and JPG work very differently, and a quick conversion without the right settings can damage details that looked fine in the original.
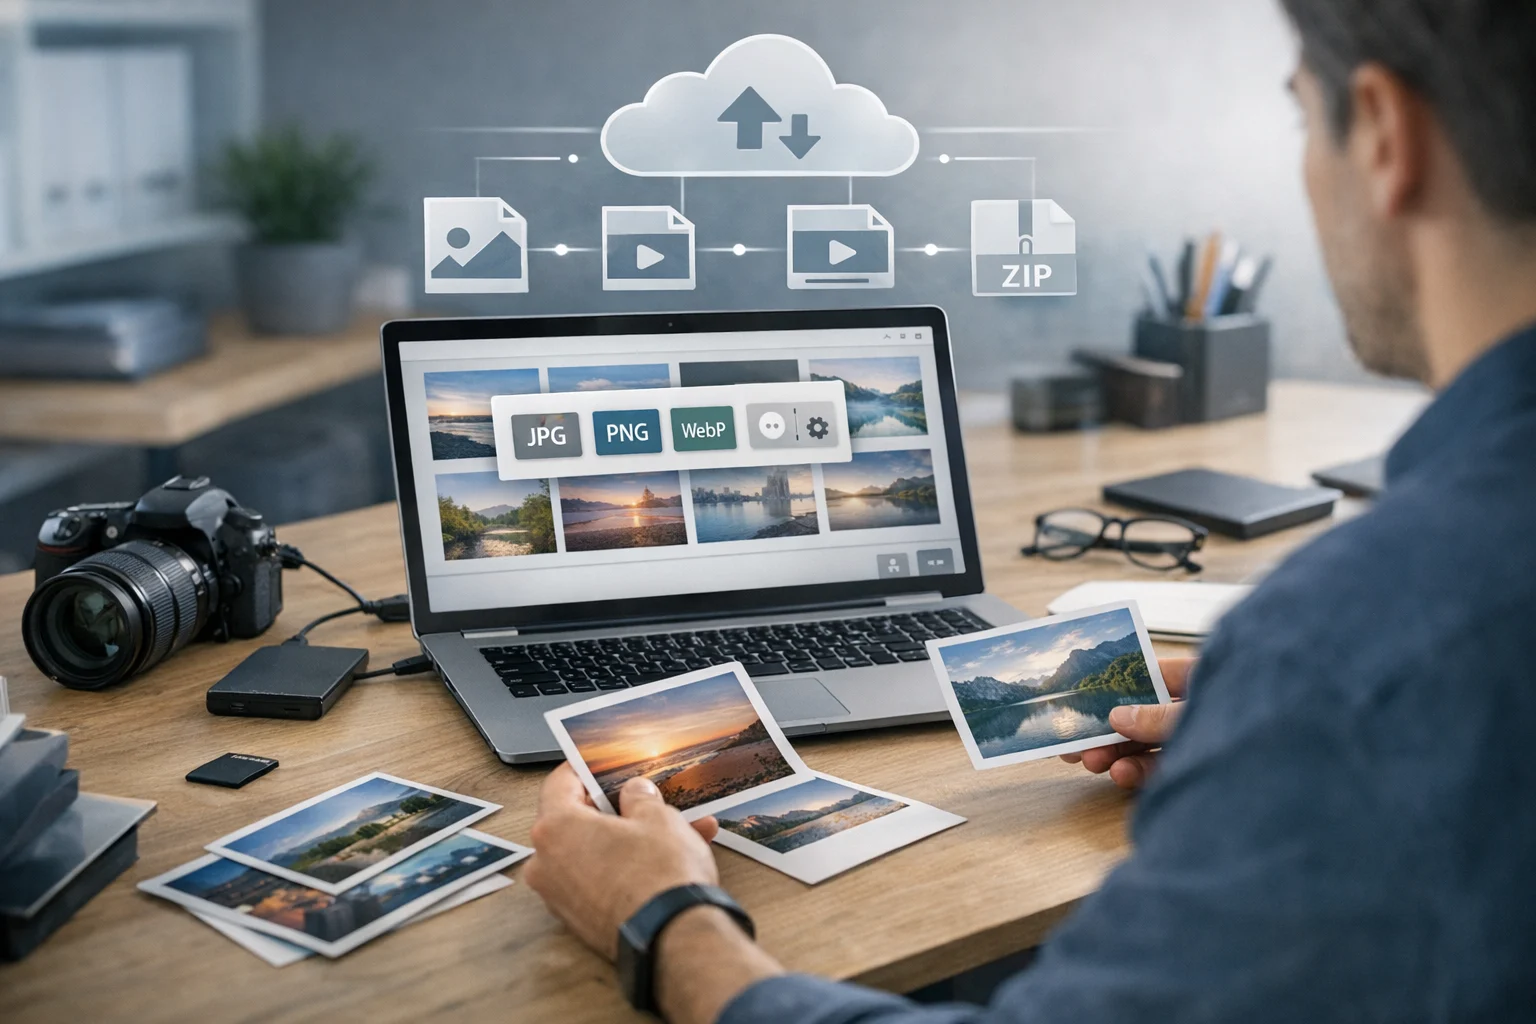
You can convert image files from PNG to JPG without making them look bad if you know what to check before and after the conversion. For students sharing project screenshots, creators posting product images, marketers uploading campaign assets, developers documenting UI changes, office teams sending reports, and freelancers delivering client files, a cleaner JPG can save storage space and make sharing easier without making the image look cheap.
This guide explains how to get a better result, what quality settings matter most, when not to convert, and how ConvertAndStore can help you handle online file conversion and organized storage in the same workflow.
Why PNG files often look better before conversion
It helps to know why PNG images often look so crisp in the first place.
PNG uses lossless compression
PNG is a lossless format. That means it keeps all the original image data when the file is saved. Text, hard edges, line art, interface screenshots, logos, and graphics often look sharp because the format does not throw away visual detail just to make the file smaller.
That is one reason the JPG vs PNG debate depends so much on the image itself. PNG is often better for screenshots and graphics, while JPG is often better for photographs and large images where file size matters more.
JPG uses lossy compression
JPG reduces file size by removing some image information. If the quality setting is too low, you may see compression artifacts, blurry edges, color banding, or fuzzy text. This is especially noticeable when you convert a screenshot, a chart, or an image with lots of small details.
The issue is not that JPG is bad. The issue is using the wrong settings for the wrong kind of image.
PNG can include transparency
PNG also supports transparent backgrounds. JPG does not. If your PNG has a transparent background and you convert it directly, the transparent area has to be filled with some color, usually white. If you do not choose that background carefully, the converted image can look awkward or inconsistent.
When it makes sense to convert PNG to JPG
Even though PNG often looks sharper for graphics, there are plenty of situations where JPG is the smarter choice.
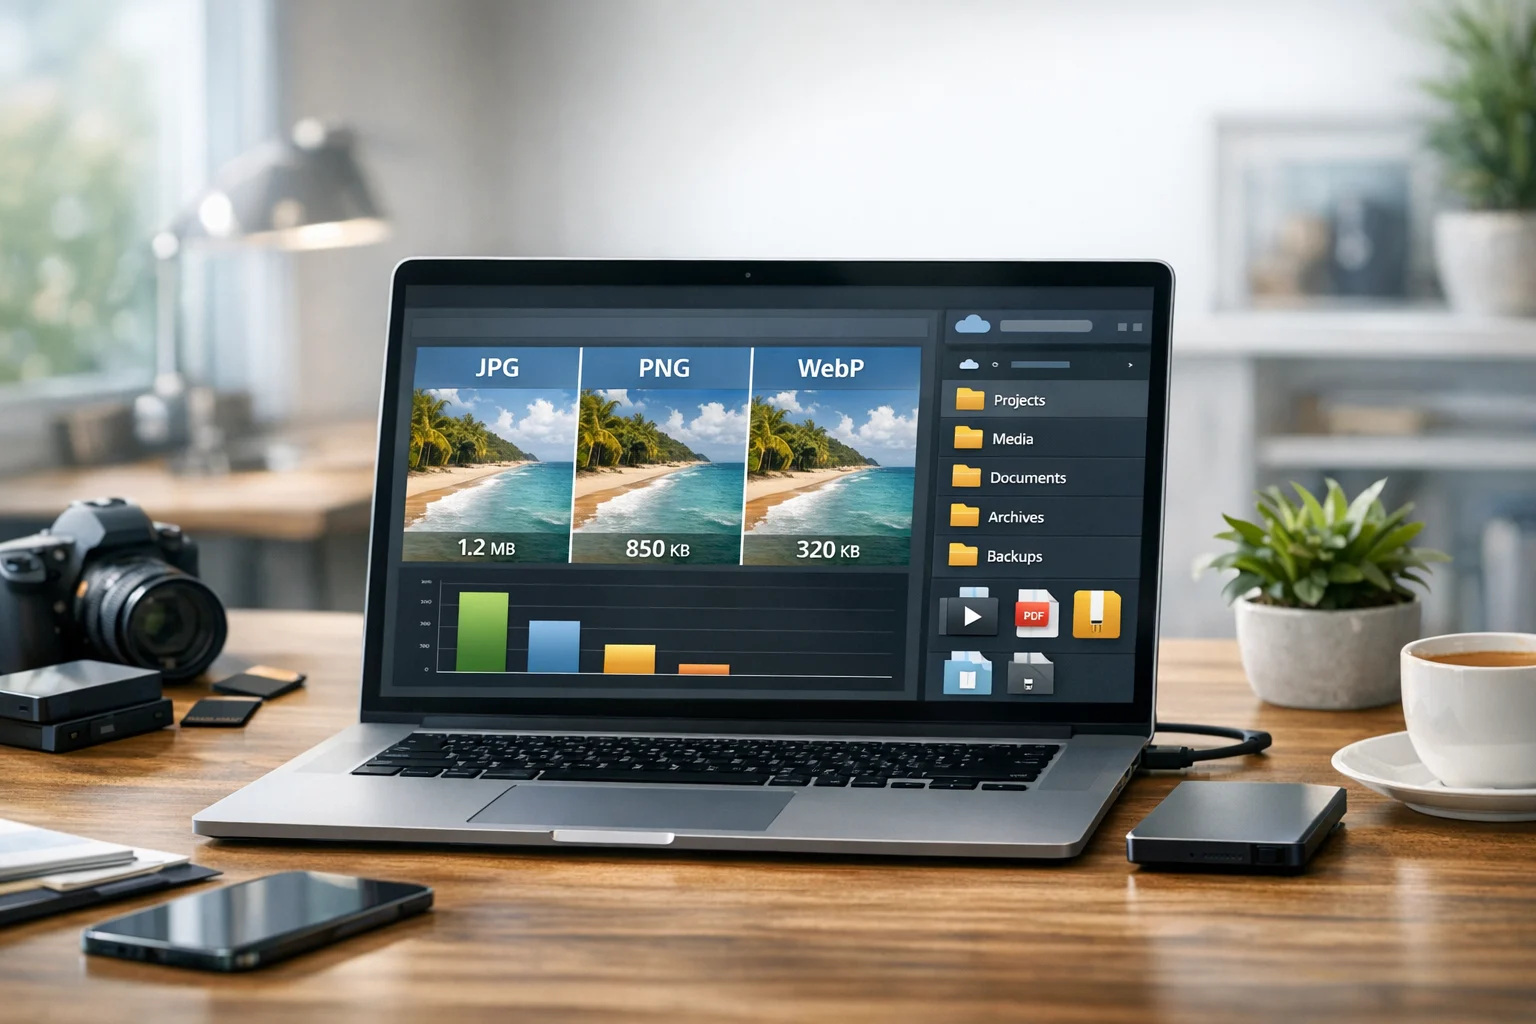
- You need a smaller file size. JPG usually creates much smaller files than PNG, which helps with uploads, email attachments, and faster page loading.
- The image is a photo. Photos with natural color transitions usually compress well as JPG without obvious damage when quality is set properly.
- You are sharing images online. Many users pick JPG for social media, website content, and everyday sharing because it balances quality and size.
- You are organizing a lot of assets. Smaller files are easier to store, back up, and send in bulk.
If you are deciding which format makes sense for a website or shared folder, it helps to understand the broader format tradeoffs. ConvertAndStore has a useful guide on JPEG vs PNG vs WebP for website images and online sharing that explains when each format works best.
The best image format depends on what matters most to you: crisp edges, transparency, small file size, or broad compatibility.
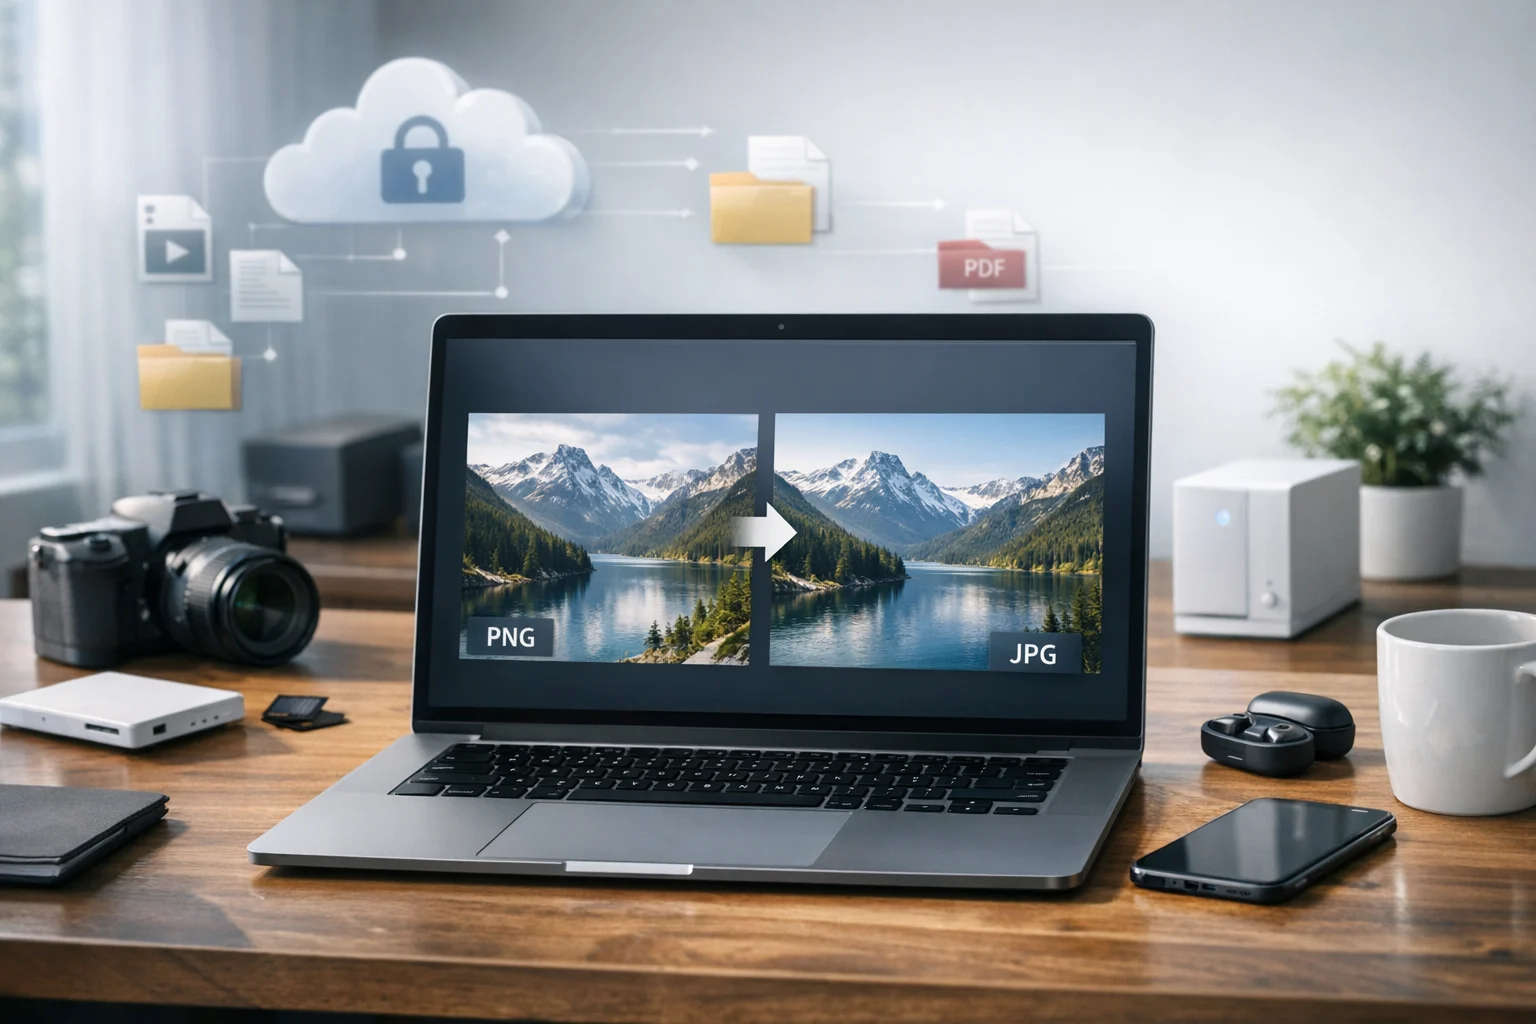
How to convert PNG to JPG without making it look bad
Start with the highest quality original you have
If the source PNG is already low resolution, compressed, cropped too tightly, or exported badly from another app, converting it to JPG will not improve it. Always start with the cleanest version available. JPG cannot restore detail that is already missing.
If you have multiple copies of the same graphic, use the largest original rather than a version downloaded from chat, email, or a presentation slide.
Resize before you convert if the image is too large
One of the easiest ways to avoid ugly compression is to reduce dimensions before conversion. A 5000 pixel wide image often does not need to stay that large if it will only be used in a document, slide deck, or web page. When you shrink an image to its actual use size first, the JPG encoder has fewer pixels to manage, which often leads to a cleaner result at a smaller file size.
If you need to crop, rotate, or resize before converting, the Image Editor on ConvertAndStore can help you clean things up first.
Choose a reasonable JPG quality setting
A common mistake is pushing the quality setting too low because you want the smallest possible file. That usually creates visible damage. For most images, a quality setting in the 80 to 92 range is a good starting point. It usually gives you a much smaller file than PNG while keeping the image looking natural.
Here is a practical rule:
- 90 to 92: Best for high quality photos, portfolio images, and marketing visuals.
- 85 to 89: Good balance for general sharing and website images.
- 80 to 84: Fine for many photos, but inspect text and edges carefully.
- Below 80: Risky for screenshots, diagrams, labels, and anything with small text.
If you are unsure whether size or quality matters more, it also helps to understand the difference between conversion and compression. This article on image compression vs image conversion explains when each one matters.
Handle transparency before conversion
If your PNG has a transparent background, decide what background color should replace it before you save as JPG. White is common, but it is not always the best choice. A product image might need a pure white background, while a social graphic may look better on black or a brand color.
If you skip this step, transparent areas may fill in with a color that looks accidental.
Avoid repeated saves
Each time you save a JPG again, the image may lose a little more detail. If you need to edit the image later, keep the original PNG and create a separate JPG copy for sharing. This is one of the easiest ways to preserve quality over time.
That habit also helps with file backup and version control. Keep the original, keep the converted version, and name them clearly.
Zoom in before you accept the result
Do not judge quality from a tiny preview. Open the converted JPG at 100 percent zoom and inspect the details that usually break first:
- small text
- thin lines
- hard edges
- gradients
- logos
- skin tones and shadows in photos
If those areas look soft, reduce compression, resize differently, or keep the image as PNG instead.
A simple PNG to JPG workflow in ConvertAndStore
If you want a fast way to do this without extra software, use the PNG to JPG Converter on ConvertAndStore. A practical workflow looks like this:
- Upload the original PNG.
- If needed, edit or resize the image first.
- Choose JPG as the output format.
- Select a quality level that matches your use case.
- Download the JPG and inspect it at full size.
- Keep the original PNG stored separately in case you need to export again later.
This kind of online file conversion is useful when you need something quick, browser based, and easy to access across devices. It also helps when you are working with teammates, school files, or client deliverables and do not want to install a separate desktop file converter just to handle one format change.
Best settings by image type
Photos
Photos are the easiest images to convert from PNG to JPG because JPG was designed for photographic content. Use a high quality setting, avoid repeated re-exports, and reduce dimensions only if the image is much larger than necessary.
Screenshots
Screenshots are trickier. User interfaces, menus, spreadsheets, and code snippets often have sharp text and flat color areas that JPG can damage. If you must convert a screenshot to JPG, keep the quality high and inspect text closely. In many cases, PNG is still the better choice.
Logos and graphics
Logos, icons, and illustrations often do better in PNG or SVG because hard edges and transparency matter. If a logo must be shared as JPG, add an intentional background and use a high quality setting. Do not expect the result to look as clean as the PNG.
Scanned documents
For a scanned page, JPG can work if the page is mostly a photo or a simple image. But if it contains fine text, signatures, or forms, keep an eye on readability. Sometimes PDF is the better format for sharing. Many people who convert image files also need to convert PDF files later using a PDF converter for tasks like PDF to JPG or image to PDF, especially when preparing reports, receipts, or classroom materials.
Common mistakes that make JPGs look bad
- Using the lowest quality setting possible. Smaller is not always better.
- Converting text heavy screenshots to JPG. Fine text and UI edges often suffer first.
- Ignoring transparency. Unexpected white or dark backgrounds can ruin the look.
- Upscaling during export. Making the image larger during conversion creates softness.
- Editing a JPG repeatedly. Each new save can reduce quality further.
- Deleting the original PNG. If you need a new export later, you want the clean source file.
JPG vs PNG, and when another format may be better
The format you choose should match the job. A lot of quality complaints happen because people ask JPG to do work that another format does better.
Think about the image this way:
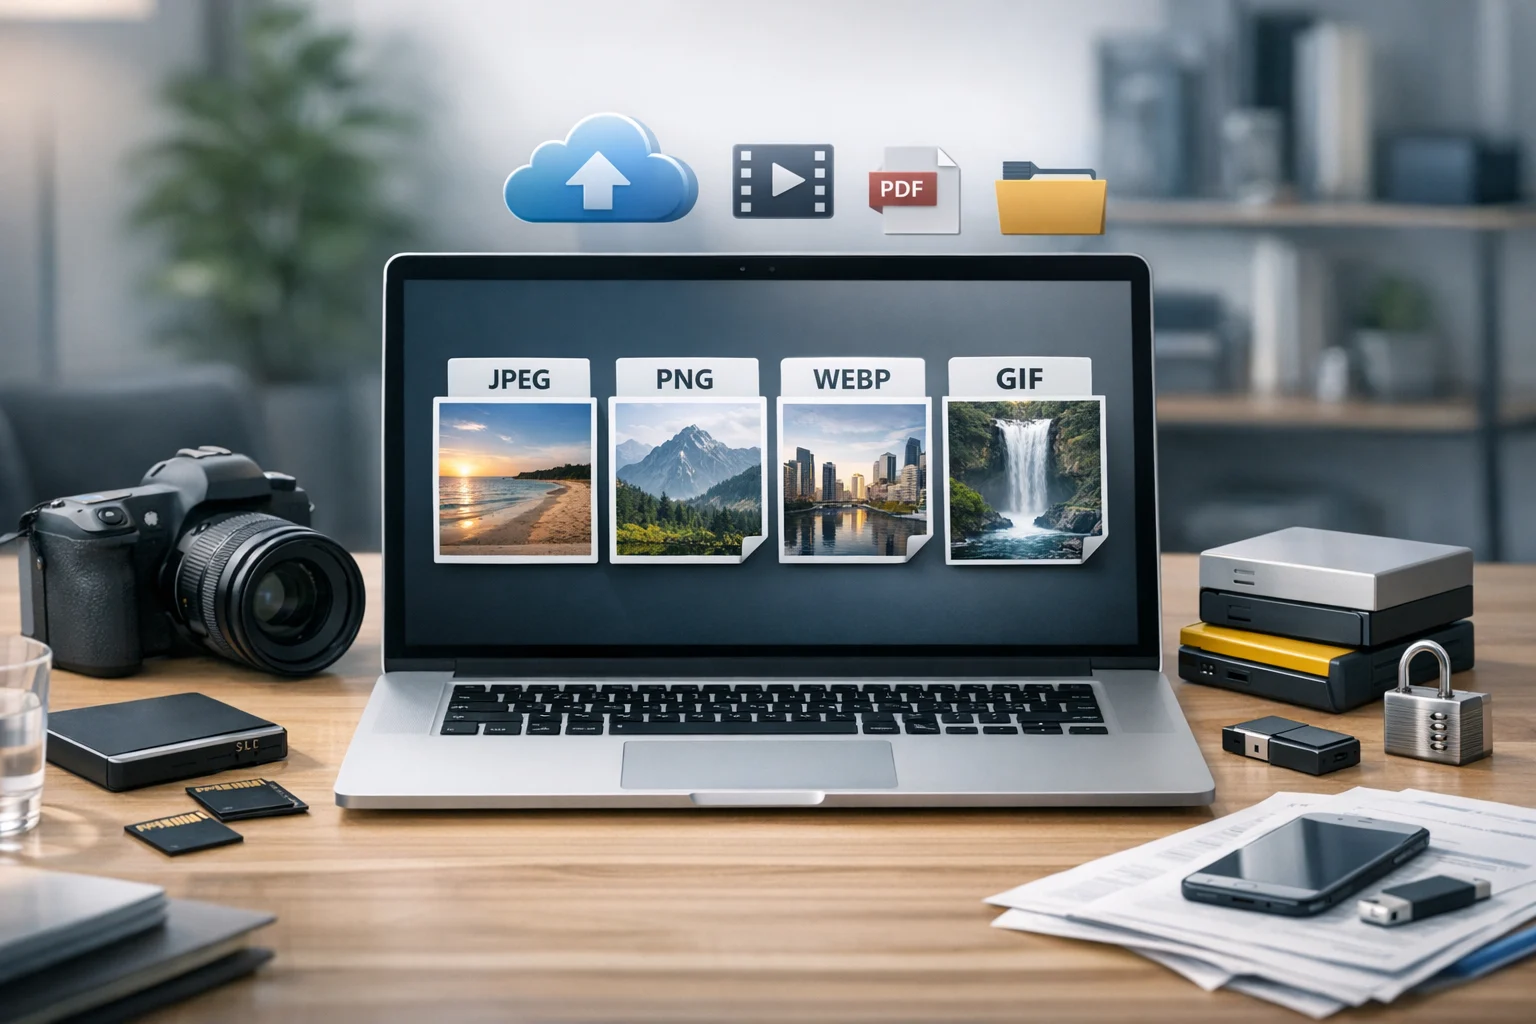
- Choose PNG for screenshots, transparent graphics, logos, diagrams, and text heavy visuals.
- Choose JPG for photos, product shots, social images, and general web sharing where file size matters.
- Choose WebP when you want small file sizes with modern web support.
The WebP vs PNG comparison is especially useful for websites because WebP often gives you smaller files than PNG with good visual quality, though compatibility and editing workflow still matter.
The best image format is never the same for every file. A product photo, a brand logo, and a screenshot from a mobile app all need different treatment.
Think beyond the image itself
People rarely convert only one file. In real projects, image conversion is often part of a larger workflow that includes compression, storage, sharing, and format cleanup.
You might convert image files for a website, then package them in a ZIP archive for a client. You might receive a RAR archive from a freelancer, unpack it, revise a few PNGs, and then export selected files as JPG for a presentation. You might even need a PDF converter for a report, a video converter to convert video files for social media, or to compare MP4 vs MOV when an edited clip is too large for a team upload.
That broader workflow is why many users look for one place that helps with online file conversion, file compression, and storage rather than juggling multiple tools.
ConvertAndStore is useful here because image work rarely stays limited to one format. A student might create screenshots and then image to PDF for an assignment. A marketer might export visuals, compress folders, and share assets. An office team might handle document storage for signed forms while also converting presentation graphics. A developer might generate screenshots, compare JPG vs PNG for docs, then send updates to a product manager as a compressed folder.
Store originals and converted files in a way that stays organized
A conversion workflow works better when you keep your files organized from the start. Here are a few habits that prevent confusion:
- Keep the original PNG in a clearly labeled source folder.
- Save the JPG in a separate exports folder.
- Use names that show size or purpose, such as hero-banner-1600.jpg or receipt-scan-web.jpg.
- Store final versions somewhere easy to access later.
- Back up files before bulk conversions or heavy compression.
If you work with large numbers of files, read ConvertAndStore's guide to best practices for file conversion, backup, and storage. It is especially useful if you manage client work, school submissions, business records, or recurring content updates.
For long term use, cloud storage matters as much as the conversion itself. Cheap cloud storage can be helpful when your library keeps growing, but it still needs to support reliable organization. If you handle business files, client drafts, or personal records, look for secure file storage, sensible permissions, and strong file backup habits. Many users also prefer encrypted cloud storage when they are storing private images, financial documents, or work materials that should not be casually exposed.
That matters for more than photos. The same folder might hold JPG exports, original PNGs, image to PDF handouts, PDF to JPG references, spreadsheets, and document storage for completed projects. One organized system saves time every time you need to find or resend a file.
When not to convert PNG to JPG
Sometimes the best way to preserve quality is not to convert at all.
Keep the PNG if:
- the image contains lots of text
- it uses transparency
- it is a logo or icon
- it has hard edges or line art
- the file size is already manageable
If the only reason you are considering JPG is storage space, file compression or a modern web format may be a better answer than changing to a lower fidelity format. If compatibility is the issue, JPG is usually safe, but if quality is the priority, test first instead of converting your whole folder blindly.
A practical quality checklist before you export
- Is this image a photo or a graphic?
- Does it have transparency?
- Will anyone need to edit it later?
- Does it contain small text or thin lines?
- Do you need the smallest size possible, or just a reasonable size reduction?
- Have you kept the original PNG somewhere safe?
If you can answer those questions before converting, you will avoid most quality problems people run into with JPG.
When you are ready to make the actual conversion, ConvertAndStore gives you a simple way to turn PNG files into cleaner, more shareable JPGs, keep the originals for backup, and manage the next steps without bouncing between tools.
Frequently Asked Questions
Not always in a visible way, but JPG is a lossy format, so some data is removed during conversion. If you use a high quality setting and the image is a photo, the difference may be hard to notice. Graphics, screenshots, and text heavy images usually show quality loss more easily.
A quality setting between 80 and 92 works well for most images. Use the higher end for photos you want to keep looking polished. If the image has text, sharp edges, or UI elements, test carefully because those details can degrade faster.
JPG does not support transparency. Any transparent area in the PNG will be replaced with a solid background color, often white. Choose the background color intentionally before conversion so the result looks clean.
Usually only if you need a smaller file and can accept some quality tradeoffs. Screenshots, logos, icons, and graphics often look better as PNG because they contain sharp lines, text, or transparent backgrounds that JPG does not handle as well.
Yes. Keep the original PNG as your source file and use the JPG as a sharing or upload version. That way you can create a new export later without repeatedly resaving the JPG and losing more quality.