Large video files are one of the fastest ways to burn through storage limits, slow down uploads, and create sharing problems for your team or clients. A short 4K clip from a phone can easily be hundreds of megabytes. Longer tutorials, webinars, product demos, course recordings, and social media exports can climb into gigabytes before you even start organizing them.
Compressing videos before they reach cloud storage makes files smaller, faster to upload, easier to preview, and cheaper to keep long term. Done badly, it can leave you with blurry footage, choppy playback, or a file that is small but no longer useful. The goal is not simply to make a video tiny. The goal is to make it small enough for smooth storage and sharing while still looking good on the devices people actually use.
Whether you are a student uploading class presentations, a creator managing content libraries, a freelancer sending drafts, a marketer working with ad variants, or a business keeping training videos in document storage and file backup systems, the same principles apply. You need the right format, the right compression settings, and a workflow that matches how the video will be watched later.
ConvertAndStore is built for exactly this kind of file workflow. If you regularly deal with media, documents, and mixed project folders, it helps to keep a set of reliable file converter tools ready before you upload anything.
Why compress video before uploading
Compressing video before upload gives you a few immediate benefits:
- Faster uploads, especially on home or mobile connections where upload speed is much slower than download speed.
- Lower storage costs, since smaller files mean more space for the same budget.
- Easier sharing, because teammates and clients can download or stream more quickly.
- Cleaner organization, since optimized files are easier to sort into folders, archives, and long term backups.
- Better compatibility, if you convert video files into a format that plays well across phones, browsers, laptops, and office systems.
This matters even more if you are comparing storage plans. Cheap cloud storage can look great at first, but low monthly pricing does not solve slow uploads or cluttered folders. Compression helps you use space more efficiently no matter which provider you choose.
If storage cost is a major concern, it also helps to read more about how to reduce cloud storage costs before you upload. Video is usually the biggest storage eater in any mixed file library.
What actually makes a video file large
Before changing settings, it helps to know what affects size. A video file is not large for just one reason. Usually, several factors are stacking up at the same time.
Resolution
Higher resolution means more pixels in every frame. A 4K video contains much more visual data than a 1080p file, and 1080p contains more than 720p. If your audience will mostly watch on laptops, phones, or embedded pages, you may not need the original resolution.
Bitrate
Bitrate is one of the biggest size drivers. A high bitrate preserves more detail but creates larger files. Lowering bitrate is often the most effective way to reduce size without changing length or dimensions too dramatically.
Frame rate
Videos at 60 fps usually take more space than 30 fps. For gameplay, sports, and motion heavy clips, high frame rates can make sense. For interviews, presentations, tutorials, and office recordings, 24 fps or 30 fps is often enough.
Codec
The codec decides how video data is encoded. Two files can have the same resolution and similar quality, but one is much smaller because it uses a more efficient codec. This is where a good video converter becomes useful.
Audio settings
Audio is usually a smaller part of the total file size, but it still matters. Stereo spoken word recordings rarely need very high audio bitrates. Lowering audio bitrate slightly can save space across large batches of files.
Length
A simple fix is often the most overlooked one. Cut off dead space at the beginning or end. Remove repeated takes if the upload is for review only. Shorter runtime means less data to store.
Start with the best upload friendly format
If you are wondering where to begin, start with format choice. Many users upload whatever their camera, screen recorder, or editing app exports by default. That is not always ideal for cloud storage and universal playback.
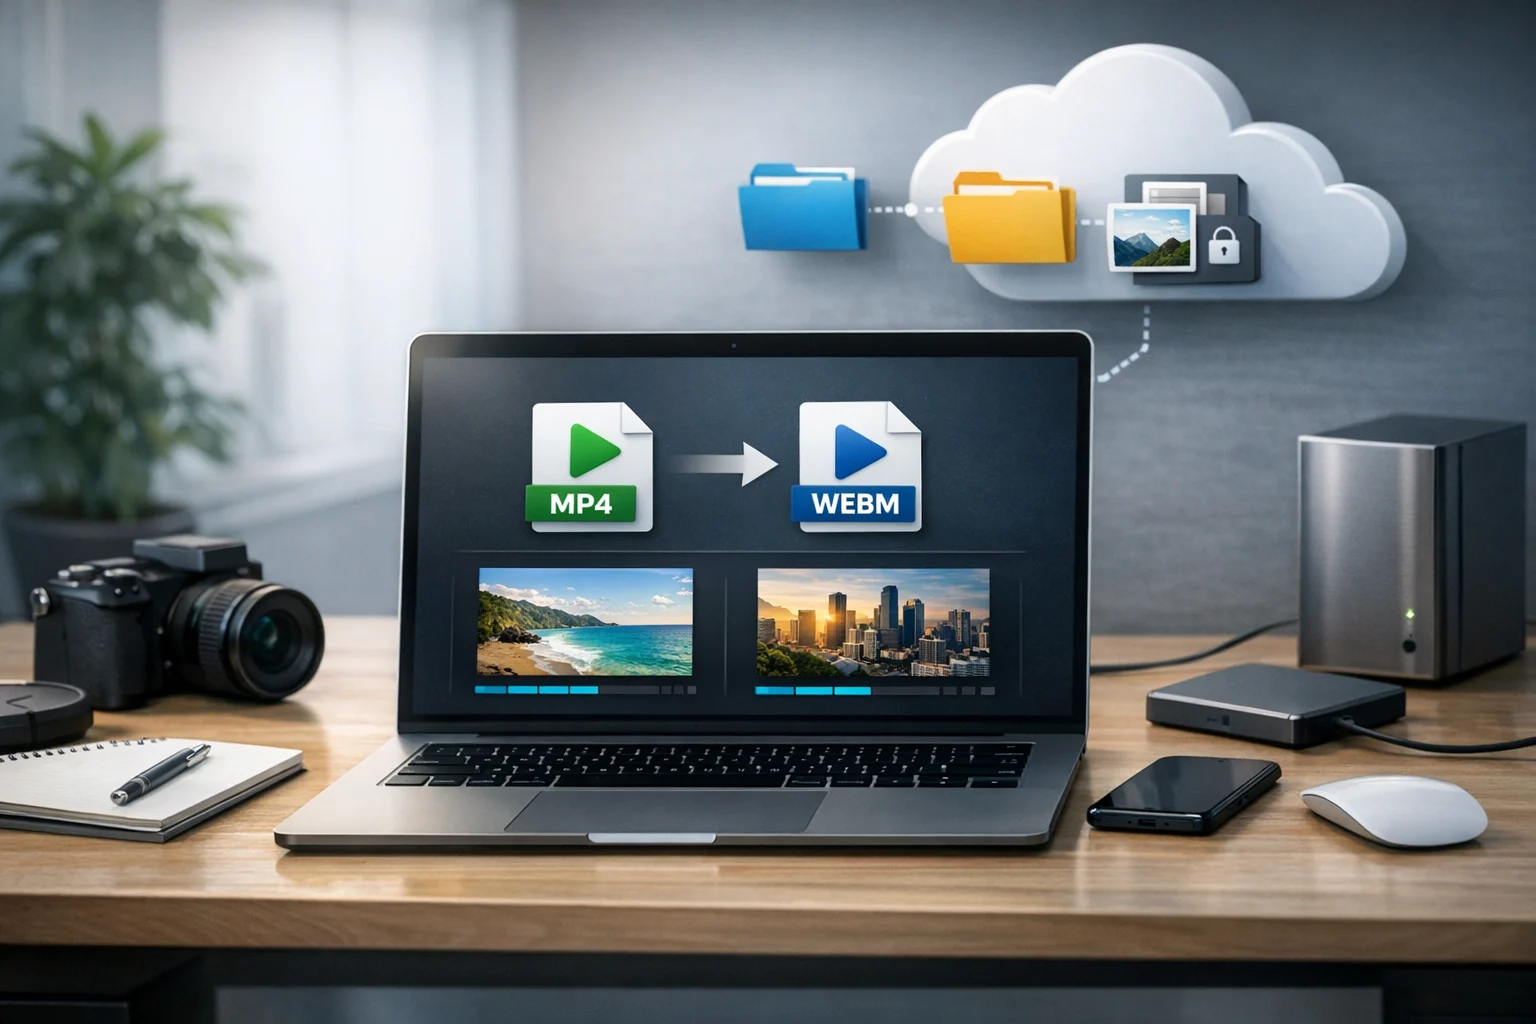
For most situations, MP4 is the safest choice. It is widely supported, streams well, and usually balances quality and size better than older or less compatible formats. This is why so many teams standardize around MP4 for shared libraries.
If your source files are MOV, AVI, or another format, you may want to convert video files before uploading. The classic comparison is MP4 vs MOV. MOV can be excellent for editing workflows, especially on Apple devices, but MP4 is often easier for sharing, browser playback, and mixed device teams. If you want a deeper breakdown, this guide on MP4 vs MOV vs AVI is a practical place to start.
As a general rule:
- Use MP4 for cloud storage, sharing, and broad compatibility.
- Keep original camera or edit files only if you need them for future editing.
- Store a compressed delivery version separately from the full quality master when possible.
This two file approach works well for creators, marketers, and office teams. Keep one master for editing and one upload version for everyday access.
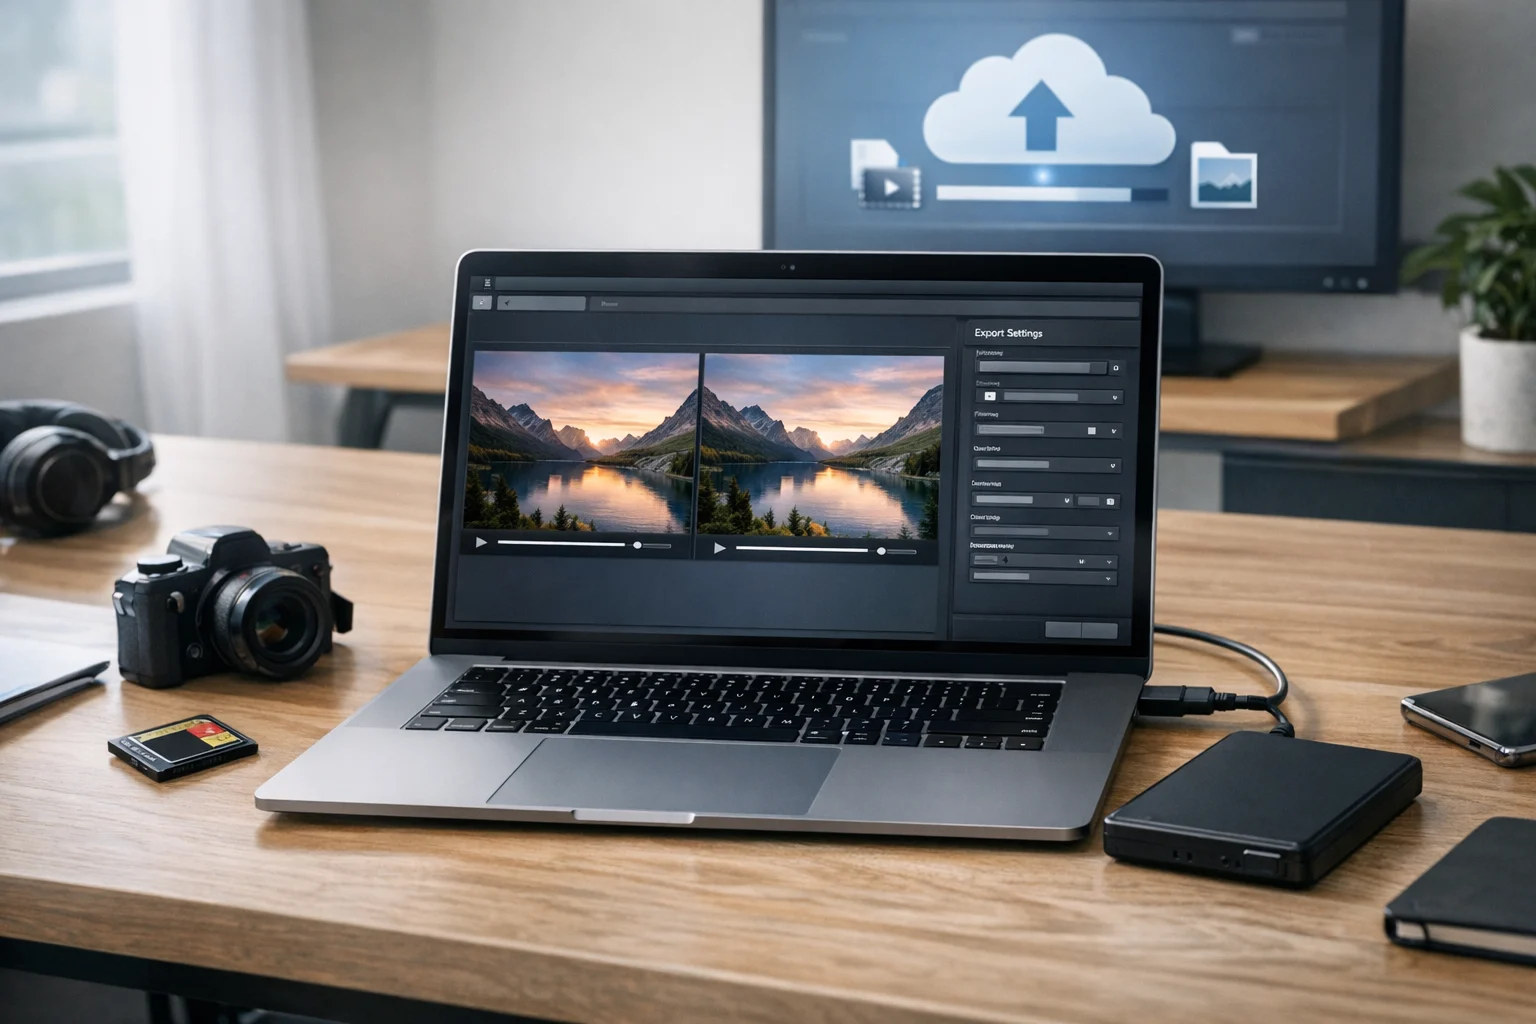
The compression settings that matter most
You do not need to tweak every advanced option. A few settings make the biggest difference.
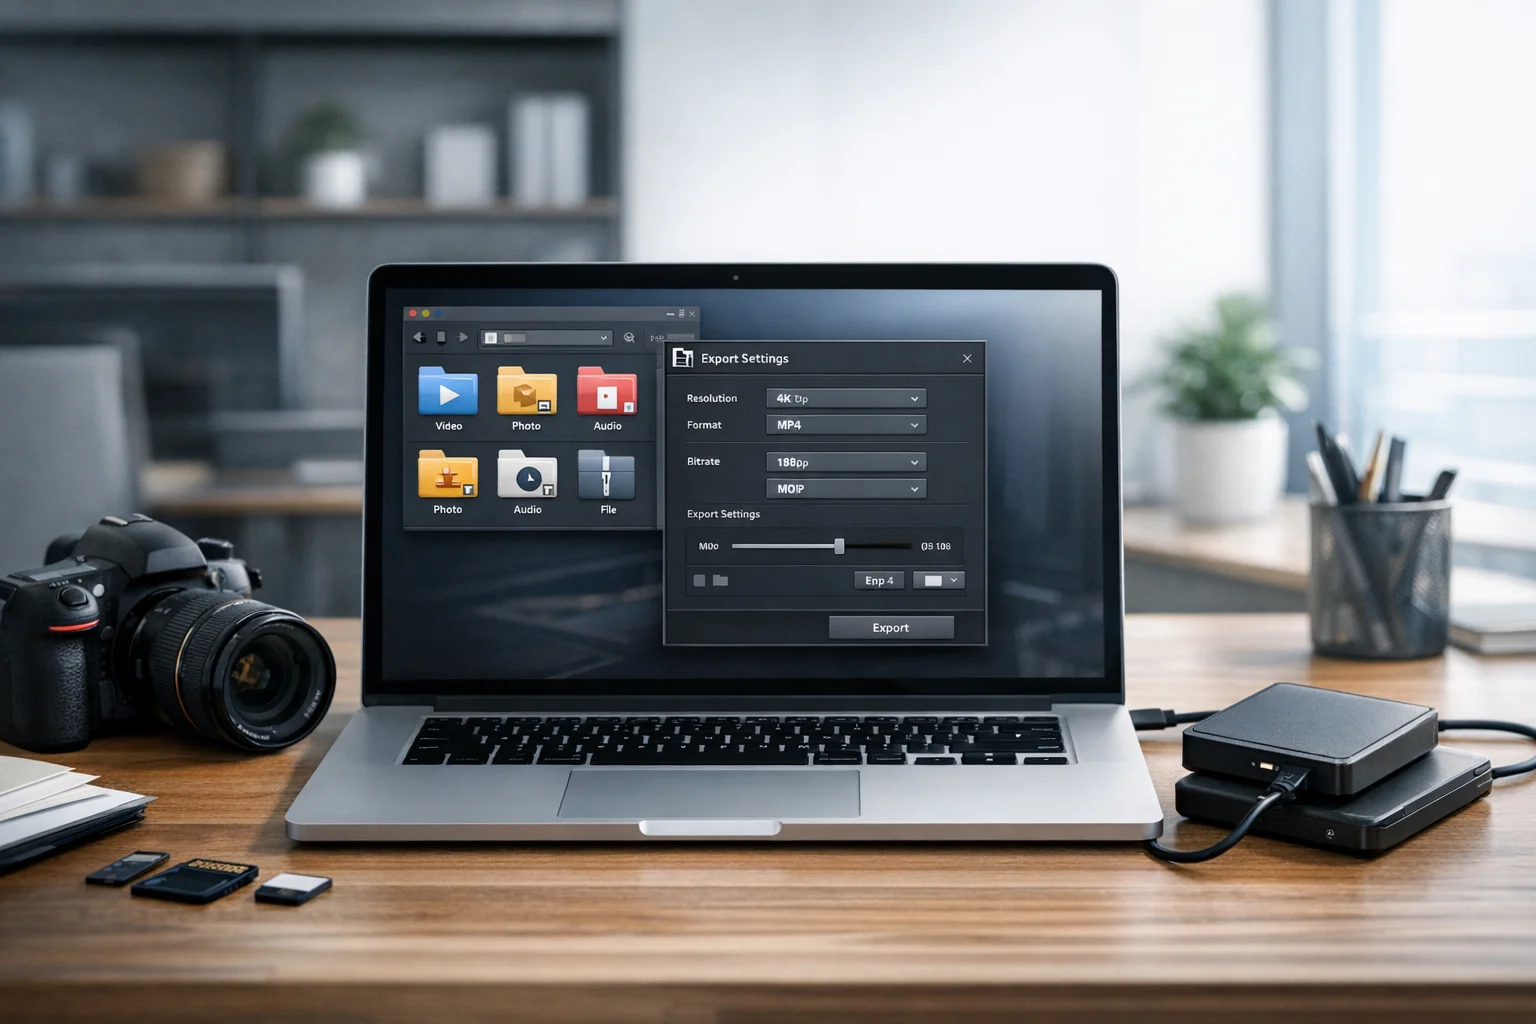
1. Lower resolution only when it matches real use
If the video will be watched mostly in a browser, 1080p is often plenty. If it is a quick internal review, 720p may be enough. Dropping from 4K to 1080p can reduce file size dramatically while keeping the content useful.
Ask yourself where the file will actually be viewed:
- Client review links
- Training portals
- Course pages
- Internal team folders
- Sales demos
- Social media scheduling libraries
If nobody needs full 4K, storing it in the main shared folder only creates friction.
2. Reduce bitrate gradually
Bitrate is where most size savings happen. Instead of crushing quality in one big step, lower the bitrate gradually and preview the result. Watch for visible blockiness in shadows, fast motion, and detailed backgrounds. Talking head videos usually tolerate more compression than action scenes or screen recordings with tiny text.
Screen recordings deserve special attention. If your video shows code, spreadsheets, design details, or product interfaces, overcompressing can make text hard to read. In those cases, keep resolution high enough for clarity, then test a moderate bitrate reduction instead of an aggressive one.
3. Keep frame rate sensible
If the original file is 60 fps but the content is just a lecture, explainer, or meeting recording, converting to 30 fps can cut size while staying smooth. Do not lower frame rate if fluid motion is important, but do not keep 60 fps out of habit.
4. Use efficient codecs when available
H.264 in MP4 is still the most practical choice for compatibility. H.265 can create smaller files at similar quality, but playback support can be less universal in some older systems and workflows. If you need the broadest sharing support, H.264 remains a strong default.
5. Compress audio sensibly
For voice focused content, you rarely need oversized audio settings. A moderate audio bitrate is usually enough for webinars, tutorials, and meetings. Music videos and polished branded media may need higher quality audio, so match the setting to the purpose.
A simple workflow for compressing video before cloud upload
If you want a repeatable process, use this order:
- Trim first. Remove extra intros, unused takes, or empty endings.
- Choose the right format. Convert to MP4 if the source format is less share friendly.
- Set a target resolution. Keep 1080p for most modern viewing, use 720p for lighter review copies when appropriate.
- Adjust bitrate. Lower it gradually and preview quality.
- Check audio. Use reasonable settings for spoken content.
- Test playback. Open the file on the kinds of devices your audience will actually use.
- Rename clearly. Include project name, version, date, and resolution if useful.
- Upload to cloud storage. Store the compressed version in shared folders and the original in a backup area if needed.
This workflow is useful for both solo users and teams. It gives you a cleaner split between working files and archive files, which makes later file backup and retrieval much easier.
How much quality should you keep?
The right compression level depends on the job the file needs to do.
For internal review
You can compress more aggressively because the goal is feedback, not final delivery. A smaller 720p or moderate bitrate 1080p file is usually enough.
For client delivery
Keep sharper quality, especially for branded work, product demos, and visual campaigns. Use MP4 and sensible bitrate reduction, but do not overdo it.
For long term storage
It often makes sense to keep two versions, the original master and a compressed access copy. The access copy is what you use in everyday cloud storage folders. The master can sit in a more deliberate backup structure.
For public web playback
Prioritize compatibility and stream friendliness. MP4 remains the simplest route in many cases. If you are balancing storage and user experience, smaller files also help playback on slower connections.
When file compression helps, and when archives do not
Many people hear file compression and immediately think of a ZIP archive. Archives are useful, but they solve a different problem.
A ZIP archive or RAR archive can bundle files together for easier transfer and organization. That is helpful if you are sending a project folder with video, subtitles, scripts, PDFs, and graphics. But archive based compression usually does not reduce modern video files by very much, because formats like MP4 are already compressed.
Use archives when you want to:
- Group multiple related files into one package
- Keep folder structures intact
- Share project assets together
- Add password protection before upload
Do not expect a ZIP archive to dramatically shrink an already compressed video. For that, you need video specific settings like codec, bitrate, and resolution changes.
If you need to package supporting files with your video, ConvertAndStore also has ZIP archive creator and archive tools that can help organize uploads more cleanly.
Protect privacy while keeping files accessible
Compression is not only about speed and cost. It is also about control. The smaller and more organized your files are, the easier it is to manage permissions, backups, and retention policies.
If you store contracts, training material, customer walkthroughs, onboarding recordings, or private product demos, look for encrypted cloud storage or other forms of secure file storage. Compression will not secure a file by itself. It simply makes storage more efficient. Privacy still depends on access controls, encryption, account security, and good file organization.
A smart setup is usually:
- Compressed access versions in shared cloud folders
- Original masters in a restricted backup area
- Permission based sharing for sensitive content
- Clear retention rules for old versions
This is especially helpful for small businesses, agencies, office teams, and developers managing release demos or training libraries over time.
Do not optimize only the video
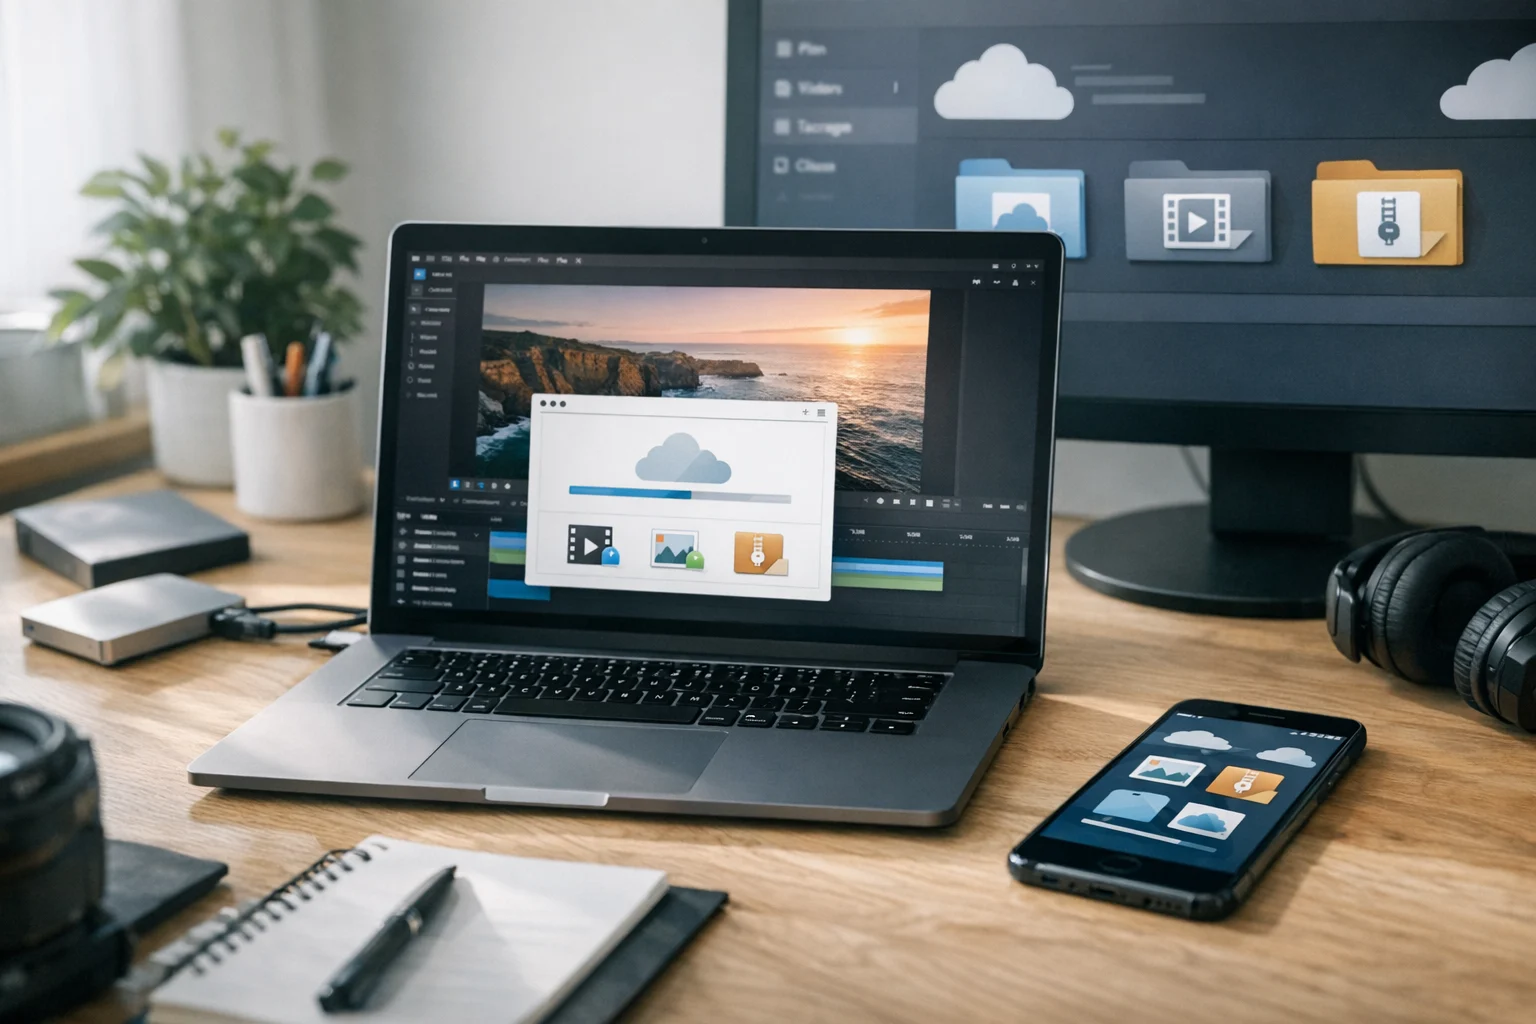
Video files are often the biggest files in a project, but they are rarely the only ones. If you are uploading a campaign folder, course materials, or client handoff package, you can save even more space by optimizing the rest of the assets too.
For example, teams often upload thumbnails, screenshots, presentation slides, pitch decks, reports, and PDFs alongside the video itself. That is where broader online file conversion becomes useful.
You may need an image converter to convert image files for previews, thumbnails, and lightweight web graphics. Choosing the best image format depends on the use case. Some teams still debate JPG vs PNG for screenshots and marketing assets, while modern web workflows often compare WebP vs PNG for balancing quality and file size. If you need to simplify those uploads, ConvertAndStore has image converter tools that help standardize graphics before they go into shared storage.
The same idea applies to documents. A PDF converter can help you convert PDF files into lighter or more usable formats, especially when teams need visual previews or page extracts. Common tasks include PDF to JPG for slide thumbnails or approvals, and image to PDF for combining scans, screenshots, or hand signed pages into a single file. Those small optimizations matter when your cloud folders hold a mix of media, document storage, and reference files.
When everything in the project folder is cleaned up before upload, your storage system becomes easier to search, cheaper to maintain, and faster to share.
Common mistakes to avoid
Uploading raw camera files to shared folders
Raw or lightly compressed originals are useful for editing, but they are often too large for daily cloud access. Save them for master storage and upload a smaller viewing version for collaboration.
Compressing multiple times
Every new export can reduce quality. Work from the best available source, not from a previously compressed copy, whenever possible.
Lowering everything at once
If you reduce resolution, bitrate, and frame rate too aggressively at the same time, quality drops fast. Change one or two major settings first, then test.
Ignoring playback compatibility
A tiny file is not helpful if clients cannot open it. This is why a practical video converter workflow matters more than chasing the smallest possible file.
Skipping naming and folder structure
Compression solves size problems, but organization solves retrieval problems. Use clear file names and keep versioning consistent so your cloud storage does not turn into a pile of mystery uploads.
Frequently Asked Questions
For most users, MP4 is the best format because it is widely compatible, streams well, and usually offers a good balance between quality and file size.
Usually not. Most video formats like MP4 are already compressed, so a ZIP archive may only reduce the size a little. To shrink video meaningfully, adjust codec, bitrate, resolution, or frame rate.
Start by trimming the video, converting to MP4 if needed, lowering bitrate gradually, and only reducing resolution if the viewing use case allows it. Always preview the result before uploading.
Yes, if you may need to edit it again or preserve maximum quality. A good approach is to store the original as a master backup and upload a compressed access copy for sharing.
Compression does not add security by itself. For sensitive files, use encrypted cloud storage, strong access controls, and secure file storage practices in addition to compression.