If you've ever exported a video and seen settings like 720p, 1080p, 4K, H.264, MP4, or 8 Mbps, you're not alone if it all looked confusing. For beginners, video settings often feel more technical than they need to be. The good news is that you do not need to be a filmmaker or developer to understand the basics. Once you know what bitrate, resolution, and format actually do, it becomes much easier to choose the right settings for playback, uploads, storage, and sharing.
This matters whether you're a student submitting a class project, a creator posting online, a freelancer sending preview files to clients, or a small business managing product demos and marketing videos. A few smart choices can help you keep quality high, reduce file size, speed up uploads, and avoid compatibility issues.
Resolution controls how many pixels your video has, bitrate controls how much data is used to represent those pixels, and format affects how the video is packaged for playback and editing. These settings work together. If one is too high, you may waste storage space. If one is too low, the video can look blurry, blocky, or soft.
If you're using a file converter or a video converter, understanding these three ideas will help you make better decisions before you convert video files. It also helps when you're comparing storage needs, planning file compression, or organizing media in cloud storage.
What video bitrate means
Bitrate is the amount of data used every second of your video. It is usually measured in kbps or Mbps. A bitrate of 8 Mbps means the video uses about 8 megabits of data per second. Higher bitrate usually means better visual quality because the video has more data to describe movement, textures, shadows, and fine detail.
Think of bitrate like the budget for each second of video. If the budget is too small, the video encoder has to cut corners. That is when you may notice muddy areas, pixelation, banding in gradients, or motion that looks messy. If the budget is larger, the encoder can preserve more detail.
A simple breakdown:
- Low bitrate: smaller file, faster upload, lower quality
- High bitrate: larger file, slower upload, higher quality
- Too low for the content: visible compression artifacts
- Too high for the content: bigger file without much visible improvement
Bitrate is especially important for scenes with motion. A talking head against a plain background needs less bitrate than sports footage, gameplay, or fast-moving product shots. That is why two videos with the same resolution can look very different if one was exported at a poor bitrate.
Audio has bitrate too, but in most beginner workflows, the video bitrate has a much bigger effect on file size and visible quality. When people talk about a video's bitrate, they usually mean the video stream, not the audio stream.
A practical rule is this: bitrate has more influence on quality than many beginners expect. If your 1080p video looks bad, the problem may not be the resolution. It may be the bitrate.
What resolution means
Resolution tells you how many pixels are in each frame of the video. Common examples include 1280 x 720, which is called 720p, and 1920 x 1080, which is called 1080p. Higher resolutions contain more pixels, which can allow more visible detail.
Many beginners assume higher resolution always means better quality. Not necessarily. Resolution only tells you how large the pixel grid is. It does not tell you how well the video was encoded. A low bitrate 4K video can look worse than a well-encoded 1080p video.
A simple way to think about common resolutions:
- 720p: good for smaller screens, quick sharing, and lighter files
- 1080p: the most common balance of clarity, compatibility, and file size
- 1440p and 4K: useful when you need extra detail, cropping room, or large-display playback
Resolution also affects storage and upload time. More pixels usually require more data to look good, which means larger files. If you choose a higher resolution without raising bitrate enough, you may end up with a bigger file that still does not look very good.
For many people, 1080p is still the safest default. It looks sharp on most devices, works well across platforms, and does not create the storage burden of 4K. Students, office teams, marketers, and freelancers often get the best balance there unless they have a clear reason to deliver in 4K.
How bitrate and resolution work together
Bitrate and resolution are connected. Resolution determines how much visual information exists in the frame, and bitrate determines how much data is available to preserve it. A larger frame usually needs more bitrate to look clean.
Imagine printing a photo on a billboard. If the image is large but the source quality is poor, scaling it up does not magically create detail. Video works the same way. More pixels do not guarantee a better result if the bitrate is too limited.
Examples:
- 1080p at a reasonable bitrate: often looks great for web video, business demos, tutorials, and social posts
- 4K at a low bitrate: may look soft or compressed despite the higher resolution
- 720p at a strong bitrate: can look better than expected on phones, laptops, and embedded web players
File size is not determined by resolution alone. Duration and bitrate matter a lot. A rough estimate is that file size follows total bitrate multiplied by video length. So if you double bitrate, you roughly double file size.
This is also why file compression can be useful. Smart compression is not only about making a file smaller. It is about reducing wasted data while preserving the quality your viewers will actually notice. If you need help with that step, ConvertAndStore also has guidance on how to compress video files before uploading to cloud storage.
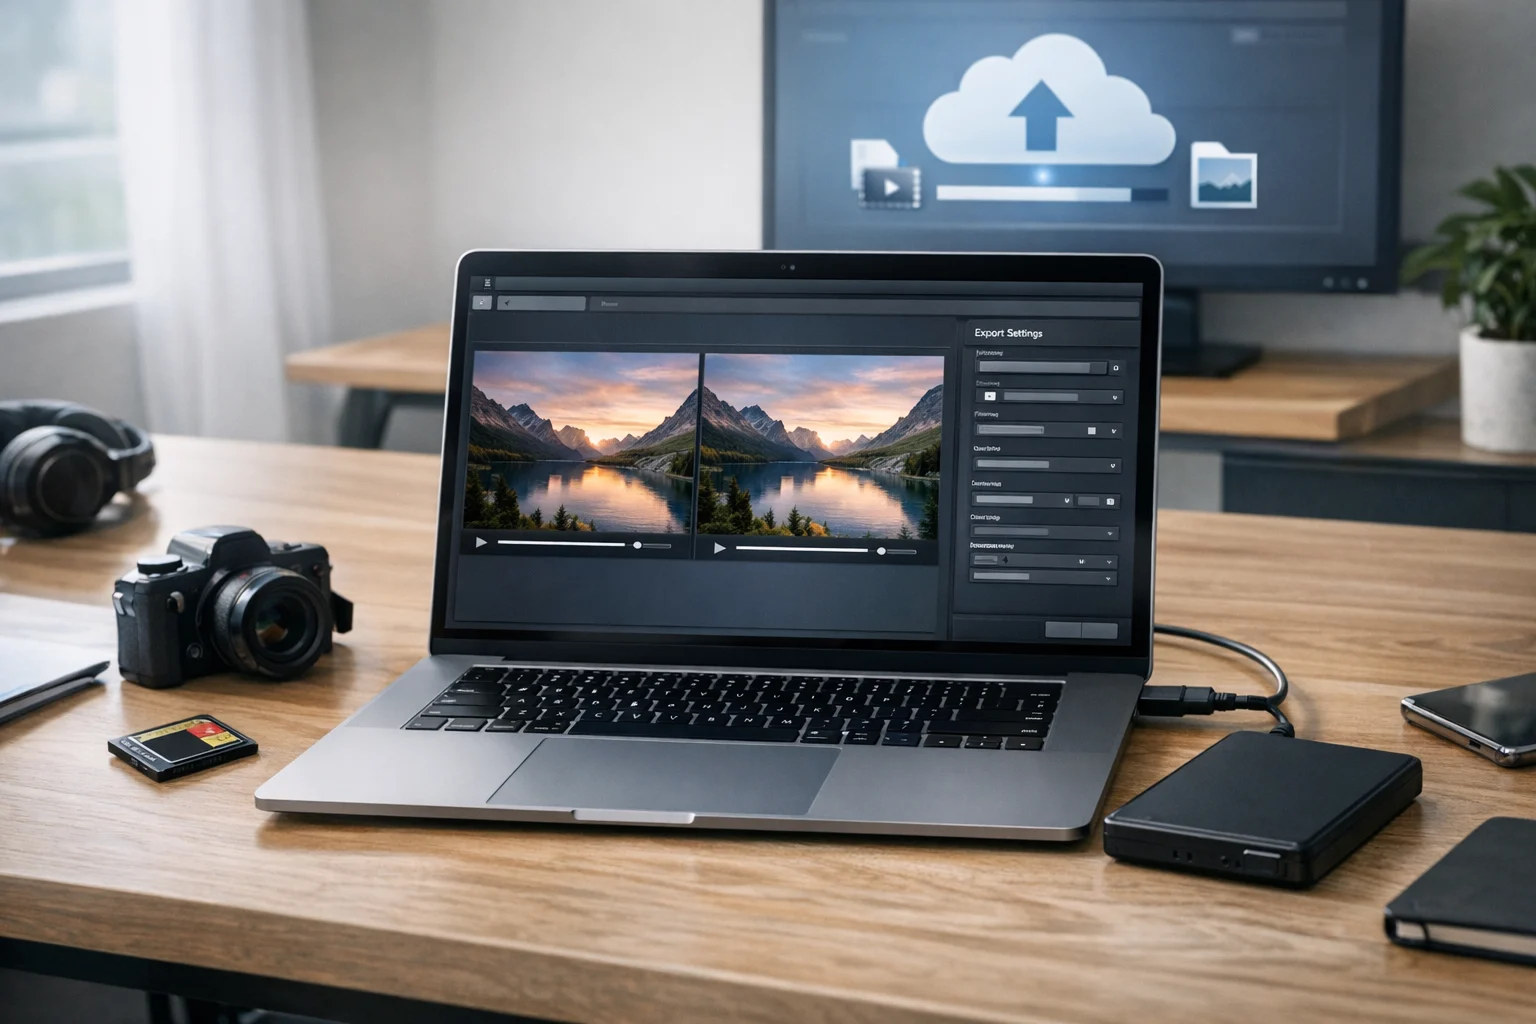
What video format means
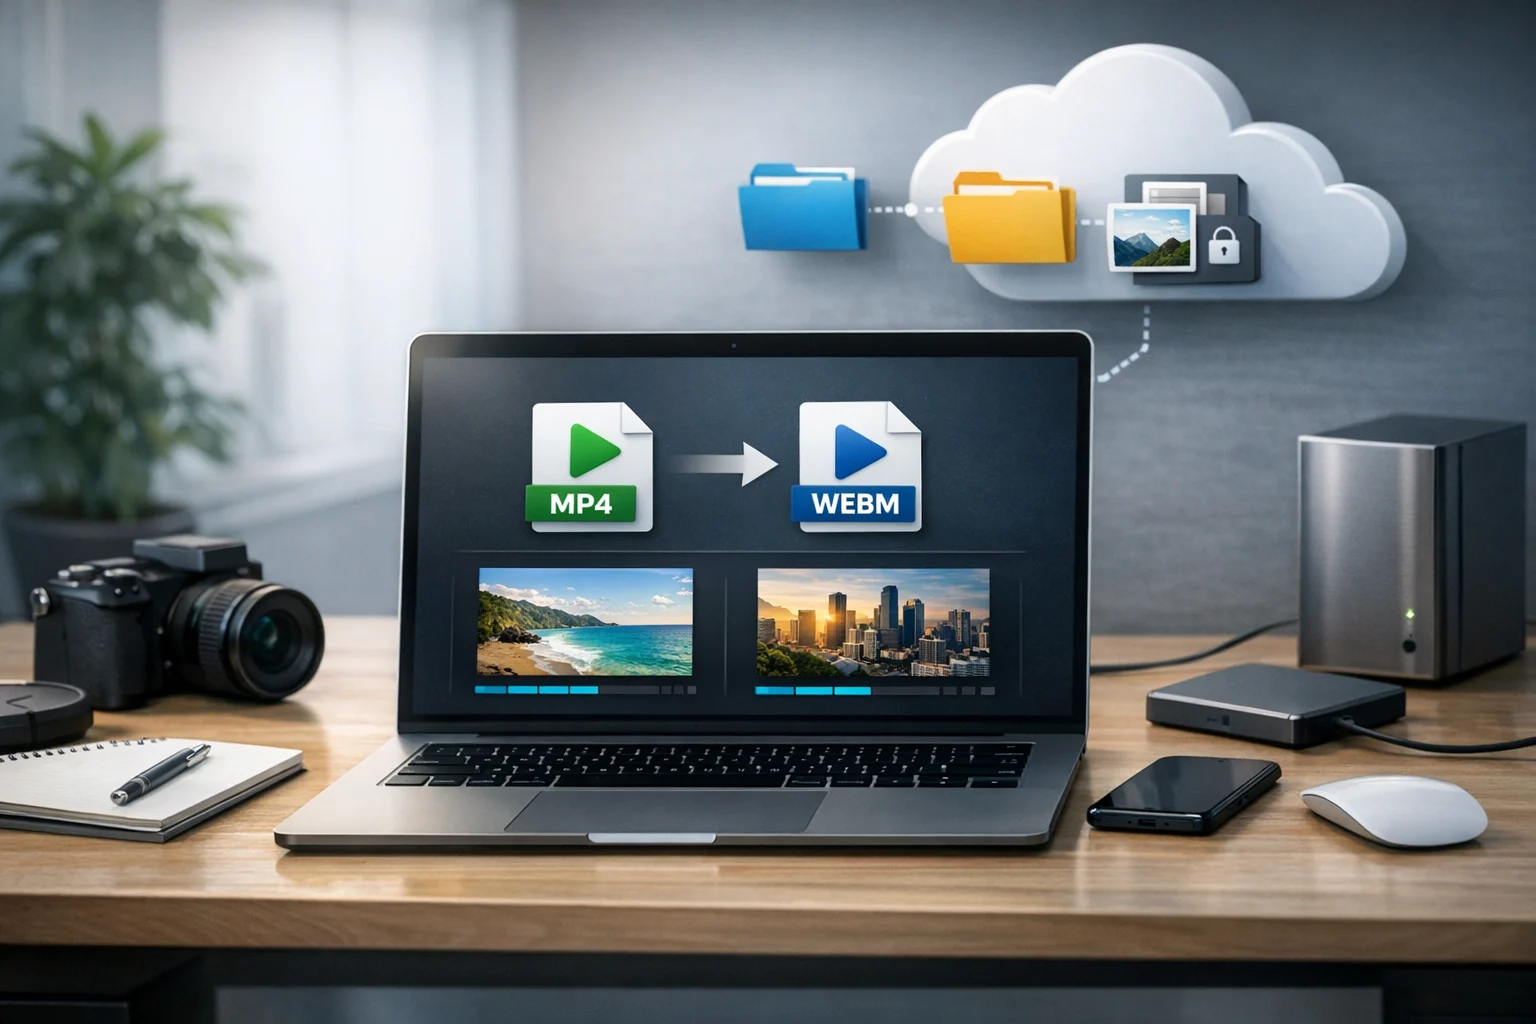
Format is the part that often confuses beginners because people use one word to describe multiple things. In everyday use, format usually means the file type, such as MP4 or MOV. Technically, that file type is the container, which holds the video stream, audio stream, subtitles, and metadata.
Inside the container is usually a codec, which is the method used to encode the video. H.264 and H.265 are common codecs. So when someone says, “Export as MP4,” what they often really mean is “Use an MP4 container, usually with a codec like H.264.”
For beginners, the most important point is compatibility. Some formats play almost everywhere, while others work better for editing or for specific devices. That is why format matters just as much as bitrate and resolution when you're preparing files for clients, classmates, or customers.
MP4 vs MOV in plain English
The easiest comparison for beginners is MP4 vs MOV. MP4 is generally the safer choice for broad compatibility, online sharing, web playback, and storage efficiency. MOV is often associated with Apple and editing workflows, and it can be a good source format, but it is not always the easiest for playback on every platform.
If your goal is simple sharing, MP4 is usually the first format to try. If your original footage arrives as MOV and you want easier playback or smaller files, converting can help. ConvertAndStore has a full guide on how to convert MOV to MP4 for easier playback on any device.
If you're comparing more options for publishing, storage, or social media delivery, this guide to the best video format for websites, social media, and storage is a useful next step.
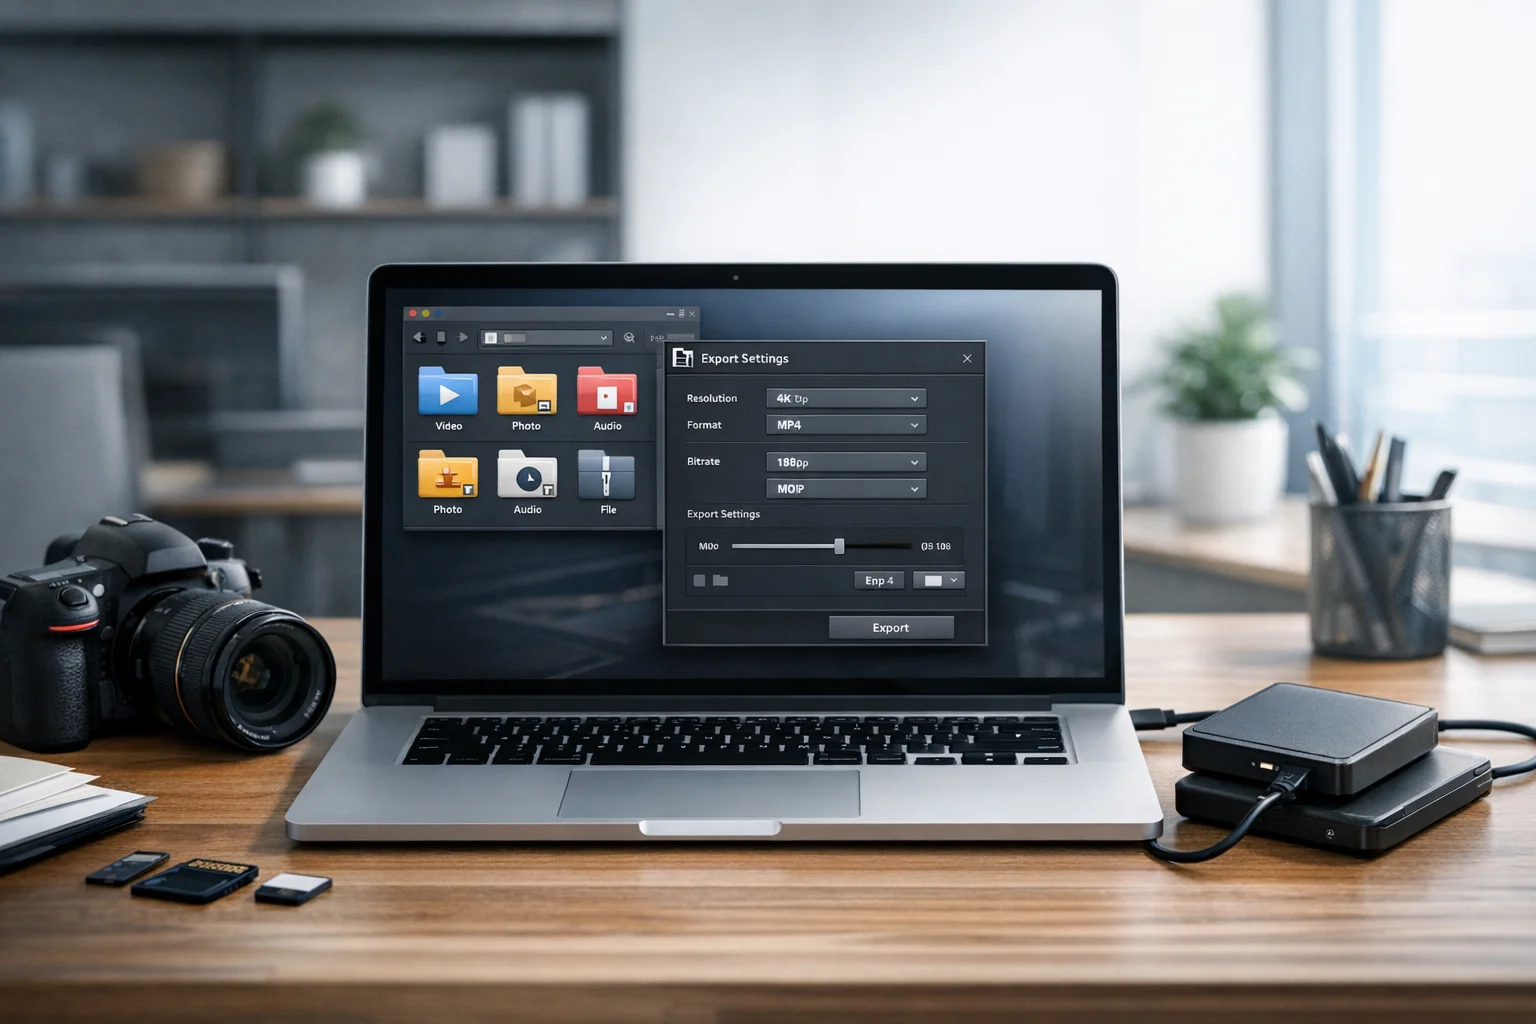
Beginner settings that usually work well
You do not need one perfect setting for every video. The best choice depends on where the video will be watched, how important quality is, and how much file size matters.
For everyday sharing
- Resolution: 1080p
- Format: MP4
- Codec: H.264
- Bitrate: moderate, enough to avoid visible blockiness
This is the safest starting point for presentations, tutorials, online portfolios, team updates, client previews, and product videos.
For quick uploads and limited storage
- Resolution: 720p or 1080p
- Format: MP4
- Codec: H.264
- Bitrate: lower, but not so low that motion breaks apart
This works well when internet speed is limited or when you need lighter files for cloud sharing.
For editing masters or higher-quality archiving
- Keep original resolution if possible
- Use a format and codec that preserve quality
- Expect larger file sizes
If you are saving an editable master, do not over-compress too early. Create a smaller delivery copy for sharing, then keep the better-quality source for later use.
Why your video can look bad even at 1080p or 4K
Beginners often focus on the number in the resolution menu and ignore the rest. That leads to a common problem: a video exported at high resolution but with poor quality. Here are some of the biggest reasons this happens:
- Bitrate is too low for the amount of motion or detail in the footage
- The source file was already compressed, so re-exporting cannot restore lost detail
- The format or codec is not ideal for the target platform
- The video was resized unnecessarily, such as turning a low-quality source into 4K
- The platform recompresses uploads, which can reduce quality further
If you see grainy shadows, smeared motion, or a blocky background, raising resolution alone usually will not fix it. You may need a better bitrate, a better source file, or a smarter export format.
File size, cloud storage, and cost control
Understanding bitrate and resolution is not only about appearance. It also affects storage planning. Large video files take longer to upload, download, back up, and share. That matters for creators with lots of drafts, marketers storing ad variations, developers sending demo builds, and office teams keeping training videos or presentations.
If you store everything at unnecessarily high settings, you will burn through cloud storage faster than you need to. Before upgrading to a bigger plan or hunting for the cheapest cheap cloud storage, it often makes more sense to reduce file size first. That means choosing the right format, reasonable bitrate, and practical resolution for the real use case.
Storage is also about protection. Sensitive project videos, training material, contracts, and internal presentations may need secure file storage, not just space. If privacy matters, look for encrypted cloud storage and strong access controls. For many users, the best setup is a combination of optimized files plus reliable cloud storage for file backup and document storage.
The same logic applies beyond video. Online file conversion is often the fastest way to create smaller, more compatible files before upload. Instead of saving every asset in the largest possible format, convert only what you need for the task in front of you.
Video projects usually include more than video
Real-world projects often include thumbnails, screenshots, scripts, invoices, release forms, slide decks, and project notes. That is why understanding conversion basics beyond video is helpful. The same person exporting a product demo might also need to create a website thumbnail, send a PDF review packet, and archive source assets.
For example, if you're making thumbnails or preview images, an image converter can save time when you need to convert image files for different platforms. The best image format depends on the job. Questions like JPG vs PNG and WebP vs PNG come up all the time. JPG is usually better for photos and lighter file size. PNG is useful when you need transparency or crisp graphics. WebP can be great for web delivery because it often reduces size while keeping good quality. If you want lighter thumbnail images for a site or landing page, try ConvertAndStore's JPG to WebP converter.
If you work with design assets often, ConvertAndStore also offers image converter tools that make it easier to prepare thumbnails, screenshots, and social graphics without installing extra software.
Documents matter too. Teams often need a PDF converter to convert PDF files into easier review formats, or to create visual previews. Common tasks include PDF to JPG for slide images or image to PDF for combining scans and screenshots into one shareable file. This is especially useful for approvals, contracts, receipts, and internal documentation that sit alongside video files in long-term document storage.
When you need to send a full project package, archives help. A ZIP archive is the most common option for bundling videos, images, and documents together. A RAR archive can be useful in some workflows, especially when splitting large transfers or using advanced compression features. Archive tools are not only for delivery. They also help with file backup and clean project handoffs between teams.
When to convert, when to compress, and when to leave the file alone
One of the easiest beginner mistakes is applying the wrong fix to the wrong problem. Use this simple checklist:
- Convert the file when playback or compatibility is the issue. Example: MOV to MP4 for easier sharing.
- Compress the file when size is the issue and quality is still acceptable.
- Lower resolution when the target screen or use case does not need more detail.
- Keep the original when you may need to edit later or create a better export in the future.
This is where a good video converter becomes practical. Instead of guessing, you can make a version for upload, a version for clients, and a master for storage. The same idea applies to other media. Use an image converter to create web-ready visuals, a PDF converter for document sharing, and archive tools for organized delivery.
The goal is not to make every file as small as possible. It is to match the file to the task. A school presentation, social clip, product walkthrough, and training video all have different needs.
A simple beginner workflow that saves time and storage
If you are not sure where to start, use this approach:
- Keep the original source file untouched
- Export a 1080p MP4 sharing copy for most uses
- Check the video on the device or platform where people will actually watch it
- If the file feels too large, lower bitrate before lowering resolution
- Create lighter thumbnails and support images for the web
- Bundle related assets in an archive if you need to send everything together
- Store final versions in cloud storage with backup and access controls
This workflow works well for students, creators, marketers, freelancers, and everyday users because it reduces confusion. You do not need perfect technical knowledge. You just need a few reliable defaults and a place to convert, store, and organize files efficiently.
Frequently Asked Questions
Resolution is the number of pixels in the video frame, such as 720p or 1080p. Bitrate is the amount of data used each second to encode that video. Resolution affects frame size, while bitrate affects how clean and detailed the video looks.
No. A 4K video with a low bitrate can look worse than a 1080p video with a good bitrate. Resolution alone does not guarantee quality. The source file, codec, and bitrate all matter.
For most beginners, yes. MP4 is usually easier to play, upload, share, and store across devices and platforms. MOV can be useful in editing workflows, but MP4 is often the safer format for everyday delivery.
Start by lowering bitrate carefully before lowering resolution. Use MP4 with a common codec like H.264 for broad compatibility. Test a short sample first, then compare quality and file size before converting the full video.
Convert a video when you need a different format or better compatibility. Compress a video when the format is fine but the file is too large for upload, storage, or sharing. In many cases, you may do both.
Video files are large because they store continuous image data, audio, and metadata. High resolutions, long durations, and high bitrates increase size fast. Optimizing files before upload helps reduce storage use, backup time, and transfer delays.