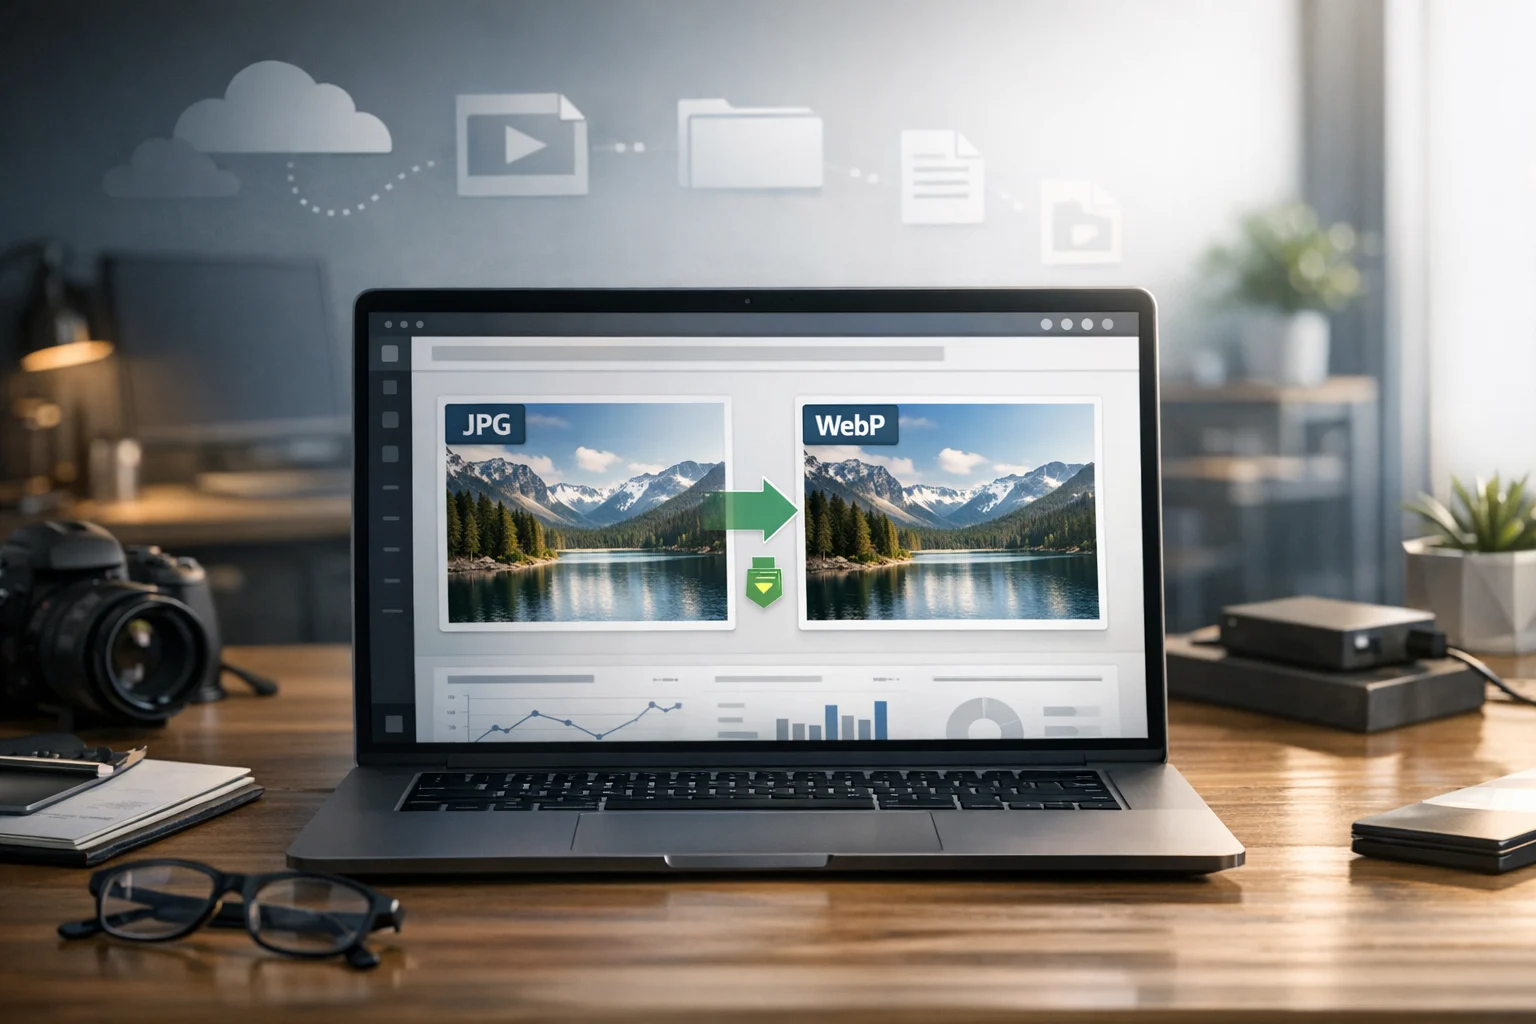
Website speed affects almost everything online. It shapes user experience, search visibility, bounce rates, ad performance, and even how trustworthy your brand feels. One of the easiest ways to improve speed is to optimize images, and that often starts by converting JPG files to WebP.
If your site still uses large JPEG photos for banners, blog images, product photos, or landing pages, switching to WebP can cut file size significantly without making your images look obviously worse. That means faster page loads, lower bandwidth use, and less storage pressure across your workflow.
For students, creators, small businesses, marketers, developers, office teams, freelancers, and everyday users, this is one of the simplest upgrades you can make. You do not need advanced design skills or server expertise. You just need the right image converter, a few practical settings, and a clean process for storing and organizing the converted files.
ConvertAndStore makes that process easier. If you want a fast place to start, you can use the JPG to WebP converter to convert image files for web use in just a few steps.
Why JPG to WebP matters for website speed
JPG has been a standard web image format for years because it offers decent quality with relatively small file sizes. It still works well for many photos, but WebP often does the same job with better compression. WebP can make your image files smaller while keeping visual quality close to the original.
Smaller files help websites in several ways:
- Pages load faster on mobile and desktop
- Visitors use less data
- Hosting and bandwidth costs can drop
- Search engines can crawl lighter pages more efficiently
- Ad landing pages and product pages feel more responsive
When someone visits your site, the browser has to download your images. If your homepage has five large JPGs, your site may feel slow before the visitor even reads a word. Replacing those with optimized WebP images can reduce that delay.
This is especially useful for image-heavy websites such as online stores, portfolios, blogs, food sites, travel sites, course pages, and company service pages. If images are one of the largest assets on the page, converting them is usually a high-impact fix.
What WebP is and why it often beats JPG
WebP is a modern image format developed to improve web performance. It supports both lossy and lossless compression, and in many real-world cases it produces smaller files than JPG at similar visual quality.
That does not mean WebP is always the best image format for every situation, but it is often the most practical choice for web photos and mixed content. If your goal is to make a website faster without manually editing every image one by one, WebP is worth using.
Here is the basic difference:
- JPG is widely supported and good for photos, but file sizes can grow quickly
- WebP is designed for the web and usually compresses better
- PNG is useful for transparency and sharp graphics, but can be much larger than JPG or WebP
Many people compare JPG vs PNG when deciding what to upload to a site. That is still useful, especially for logos, screenshots, and transparent graphics. For web performance, WebP vs PNG is often the more important comparison for many pages because WebP can preserve strong quality while cutting size more aggressively.
If you want a broader format comparison before converting a large batch of assets, this guide on JPEG vs PNG vs WebP for website images and online sharing helps explain where each format fits.
When you should convert JPG to WebP
You should consider converting JPG files to WebP when:
- You are uploading images to a website, blog, store, or landing page
- You want faster loading pages without a visible drop in quality
- You are managing large image libraries and want smaller files
- You need better file compression for web delivery
- You want to reduce storage usage before uploading to cloud storage
Common examples include:
- Product photos for ecommerce pages
- Article thumbnails and featured images
- Portfolio images for creators and photographers
- Marketing graphics exported as JPG from design tools
- Course materials and visual guides for education sites
If you are keeping original images for editing or print, store the high-quality JPG version as your master file and publish the WebP version online. That gives you flexibility without slowing down the final page.
How to convert JPG to WebP step by step
The simplest workflow is to start with a clean original JPG, choose quality settings that match your use case, and save the converted WebP with a consistent name.
1. Review the original image
Before converting, check the file size and dimensions of the JPG. A very large image, such as 4000 pixels wide, may be bigger than your website actually needs. If your content area only displays images at 1200 pixels wide, resizing before or during conversion can improve results even more.
This is where people sometimes confuse file conversion with file compression. Format conversion changes the file type. Compression reduces size, often by adjusting quality or encoding efficiency. In practice, you usually want both.
2. Use a trusted file converter
Choose a tool built for online file conversion that is easy to use and does not add unnecessary complexity. ConvertAndStore offers a set of image converter tools for common image formats, which is helpful if your workflow includes more than just JPG files.
For this specific task, upload your JPEG image to the JPG to WebP converter, apply the output settings, and download the converted file. If you later need to work with PNG assets too, a PNG to WebP tool can keep your image library consistent.
3. Set the right quality level
If your converter offers a quality slider, start in the medium to high range and compare the output visually. Many websites can use WebP quality around 70 to 85 and still look excellent. The right number depends on the image itself.
For example:
- Detailed product photos may need slightly higher quality
- Decorative blog images can often use lower settings
- Hero banners should be tested carefully because visitors see them first
Do not assume maximum quality is always best. Higher quality usually means larger files, which reduces the speed benefit.
4. Resize if needed
A giant image in a small website slot wastes bandwidth. If your site displays a blog image at 800 pixels wide, there is no practical reason to upload a 3000 pixel version unless you have a specific zoom feature. Resizing before publishing is one of the easiest speed wins.
5. Test the result on the page
After conversion, place the WebP file on your website and compare:
- Load speed
- Visual quality
- Mobile appearance
- Performance scores from your site testing tools
If the image looks soft or compressed, raise the quality slightly or use a larger dimension. If it still looks great, try lowering quality a little more to shrink the file further.
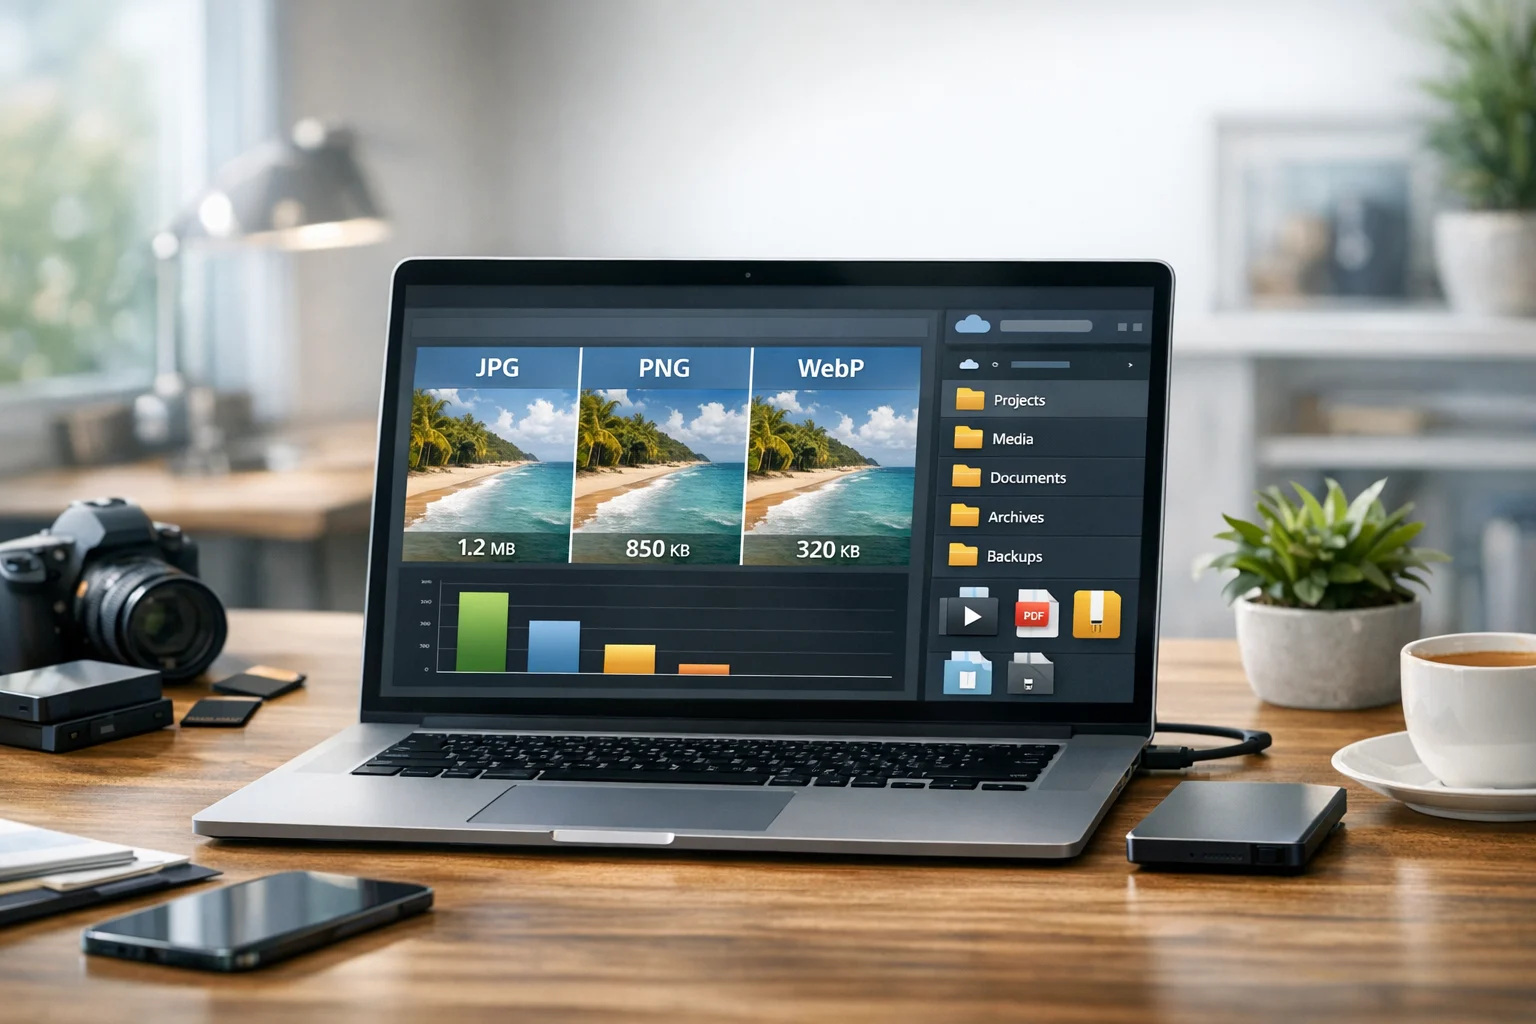
How much smaller can WebP be?
The exact savings depend on the original image, but WebP often reduces file size noticeably compared with JPG. Some images shrink by a modest amount, while others become much smaller. Photos with complex detail, backgrounds, or gradients often benefit the most.
That matters even more when a page uses multiple images. Saving 80 KB on one image is helpful. Saving 80 KB on 20 images is a much bigger gain.
For teams managing many assets, this also helps beyond website performance. Smaller files are easier to transfer, archive, and store. If you rely on cloud storage for project handoffs or long-term file backup, optimized images can lower storage usage and improve organization.
JPG vs PNG and WebP vs PNG for websites
Many site owners are not only choosing between JPG and WebP. They are also deciding whether PNG is necessary at all. This depends on the type of image.
Use JPG when
- You need a familiar format for photos
- You want broad compatibility during editing and sharing
- You have not yet optimized for web delivery
Use PNG when
- You need transparency
- You are working with logos, icons, or interface graphics
- You need sharp edges and flat color areas
Use WebP when
- You want smaller image files for websites
- You are publishing photos and web graphics online
- You want a strong balance of quality and speed
In the classic JPG vs PNG comparison, JPG usually wins for photos because PNG files can be much larger. In the WebP vs PNG comparison, WebP often becomes the better website choice unless you have a very specific design requirement or workflow limitation.
Will WebP affect image quality?
It can, but usually in a controllable way. Like JPG, WebP can use lossy compression, which means some data is removed to reduce size. The goal is to lower file size without creating visible problems for normal users.
If you choose a sensible quality setting, most website visitors will not notice a difference. What they will notice is that the page loads faster.
Some images need extra care:
- Text-heavy graphics can look fuzzy if compressed too much
- Screenshots may be better in PNG or high-quality WebP
- Brand assets with precise colors should be tested visually
Always compare the before and after version at the actual display size on your site.
Browser support and compatibility
WebP is supported by modern browsers, so for most websites it is a safe choice today. If you are managing an older system or a highly specific audience, it is still smart to test compatibility across your site and devices.
Developers sometimes keep original JPG files as a fallback in case an old environment cannot use WebP. For most modern projects, though, using WebP for website delivery is standard practice.
Batch workflows for teams and busy sites
If you run a content-heavy site or manage assets across departments, converting one image at a time is not enough. You need a repeatable process. A practical workflow might look like this:
- Keep original source images in one folder
- Create a separate web-optimized folder for converted files
- Use clear file names with size or format markers
- Upload only the optimized version to the website
- Store originals in secure file storage for backup
This approach prevents accidental overwrites and helps teams know which file is the publishing version. If naming has been a problem in your workflow, this article on how to name converted files so they stay organized is a useful follow-up.
Why conversion and storage belong in the same workflow
Image optimization does not stop after the download button. Once you convert image files, you still need to store, organize, and share them. That is where a platform like ConvertAndStore can be more useful than a simple one-off converter.
For many users, file handling problems grow after conversion:
- Multiple versions of the same image pile up
- Old files remain in cloud folders
- Shared teams upload the wrong format
- Storage fills up with oversized assets
A better setup includes cloud storage for active projects, file backup for originals, and document storage for supporting content such as briefs, design notes, and approvals. If privacy matters, encrypted cloud storage and secure file storage are especially important for business teams, agencies, and client work.
Smaller files also make cheap cloud storage go further. When you optimize images before upload, you reduce waste and make collaboration easier. The same idea applies to documents and media beyond images too.
How this connects to other file conversion tasks
People who need a JPG to WebP converter often need more than one tool. Website and office workflows usually include PDFs, videos, archives, and mixed file types. That is why having one reliable file converter platform matters.
Here are common tasks that often sit next to image conversion:
- Convert PDF files for sharing, previews, or publishing assets online
- Use a PDF converter to create lighter files for upload
- Turn PDF to JPG for presentations, image previews, or website graphics
- Create image to PDF files for proposals, worksheets, or portfolios
- Use a video converter to prepare clips for websites and social posts
- Convert video files when you need a different format for editing or playback
- Compare MP4 vs MOV when choosing web-friendly video formats
- Bundle projects into a ZIP archive for simple sharing
- Work with a RAR archive when receiving compressed files from clients or teammates
All of these tasks benefit from the same basic principle: reduce unnecessary size, keep quality where it matters, and store files in a way that is easy to manage later.
Common mistakes to avoid when converting JPG to WebP
Using the original camera size on every page
A phone or camera photo may be much larger than needed for web display. Resize to match the actual layout.
Choosing quality settings without previewing
Do not assume one quality number works for every image. Preview a few sample files before converting a full batch.
Replacing every format without thinking
Not every PNG should become WebP. Transparent assets and specific design files may need separate handling.
Forgetting organization
If you store converted images in the same folder with no naming pattern, duplicates build up quickly and teams upload the wrong version.
Ignoring the wider content workflow
Images are only one part of performance. PDFs, videos, archives, and stored documents can also create clutter and slow sharing if they are not optimized too.
Who benefits most from JPG to WebP conversion
Almost anyone publishing images online can benefit, but the biggest gains usually show up for:
- Bloggers who upload featured images for every post
- Small businesses with image-rich service pages
- Online stores with large product catalogs
- Marketers running landing pages and campaigns
- Developers optimizing front-end performance
- Creators sharing portfolios or media kits
- Office teams managing shared visual assets
If your website depends on visuals, converting JPG to WebP is one of the highest-value changes you can make without redesigning the site.
A practical publishing checklist
- Start with the clearest original JPG available
- Resize the image to fit the website layout
- Convert to WebP using a reliable image converter
- Compare quality before publishing
- Name the file clearly
- Upload the optimized version to your site
- Store the original in secure file storage or cloud backup
Frequently Asked Questions
It can reduce quality if you choose very aggressive compression, but in most cases WebP keeps images looking very close to the original while making the file smaller. The best approach is to preview the result and adjust the quality setting until it looks right on your page.
For many websites, yes. WebP usually delivers smaller file sizes than JPG at similar visual quality, which helps pages load faster. JPG can still be useful as an original or fallback format, but WebP is often the better publishing format for web images.
Yes. Keep the original JPG as your master file for editing, backup, or future exports. Use the WebP version for your website, and store the original in cloud storage or secure file storage so you can return to it later if needed.
Yes. WebP works well for product images, article thumbnails, hero images, and many other website visuals. Just test quality settings carefully for large banners and detailed product shots so they stay sharp.
Image conversion changes the file format, such as JPG to WebP. File compression reduces the file size, often by changing quality settings or using a more efficient format. In many workflows, converting to WebP and compressing the image happen together.
Optimized files take up less space, upload faster, and are easier to share. This helps reduce storage waste, supports cheaper cloud storage plans, and keeps your file backup and document storage system more organized.