When you create screenshots for a tutorial, support article, training manual, or product documentation page, the image type you choose matters more than many people expect. The wrong format can make text blurry, increase upload times, create compatibility issues, or leave you with files that are harder to edit and store later.
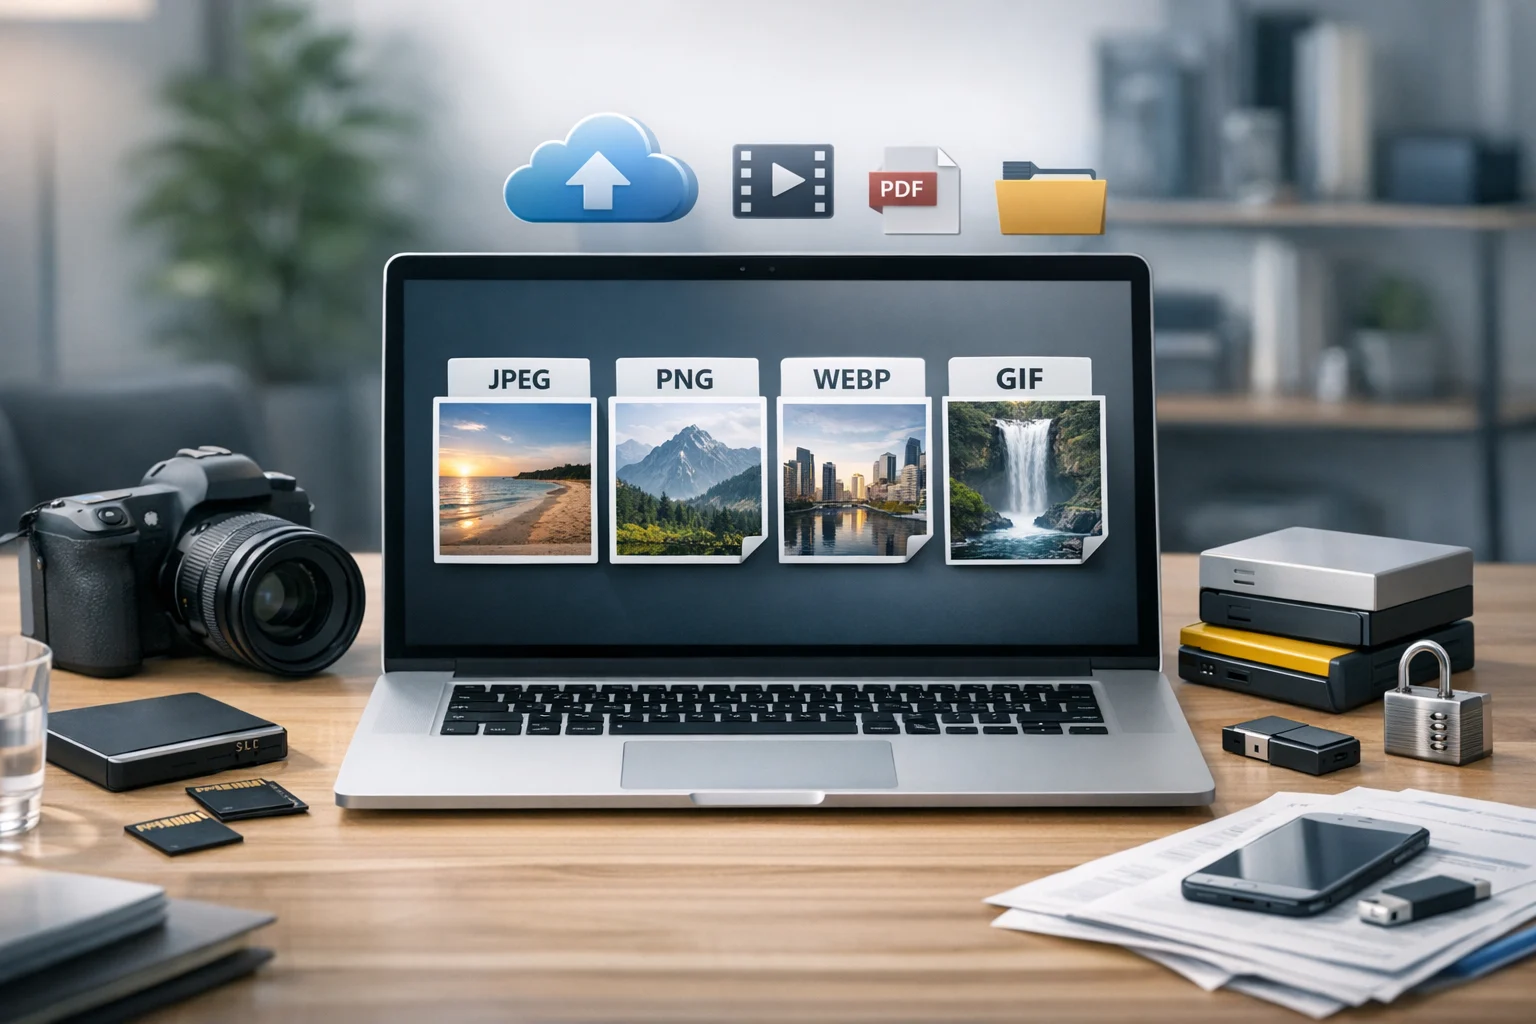
For most people, the quick answer is simple: PNG is usually the best image format for screenshots. But that is not the whole story. JPG still has a place, WebP is often a smart option for web publishing, and your full workflow may also involve a file converter, a PDF converter, a video converter, cloud storage, file compression, and archive tools for sharing project assets.
This matters for students saving class notes, creators publishing tutorials, small businesses building SOPs, marketers creating walkthroughs, developers documenting features, office teams sharing internal guides, freelancers sending client instructions, and everyday users who just want their screenshots to stay sharp and easy to manage.
Why image type matters for screenshots
Screenshots are different from photos. A typical screenshot contains sharp text, icons, buttons, menus, tables, charts, code snippets, and straight edges. Those details are easy to damage if you choose a format built mainly for photographic content.
A good format helps you keep:
- Text readable at small sizes
- Lines and icons sharp
- Annotations clean after editing
- File sizes manageable for sharing
- Compatibility across apps, browsers, and devices
If your screenshots are part of a larger documentation workflow, format choice also affects how easily you can convert image files, add them to PDFs, bundle them into a ZIP archive, upload them to cloud storage, and keep them organized for long-term document storage.
The short answer: PNG is the best default for most screenshots
If you need one reliable choice for screenshot tutorials and documentation, go with PNG first. PNG uses lossless compression, which means it preserves detail without introducing the fuzzy artifacts that often appear in compressed photo formats.
PNG is usually the best image format for:
- Software interface screenshots
- Website walkthroughs
- Dashboard captures
- Spreadsheet screenshots
- Code editor captures
- Support documentation
- Training materials
- Annotated images with arrows, boxes, and labels
The biggest advantage is clarity. Small text stays readable. Buttons and icons keep their edges. Cropped sections still look clean. If you need to edit the file again later, PNG holds up far better than JPG.
If you need a quick way to convert image files between common formats, ConvertAndStore has practical image converter tools that make it easy to switch between PNG, JPG, WebP, BMP, and TIFF without extra software.
When PNG is clearly the right choice
PNG should be your default if your screenshot includes any of the following:
- Small interface text
- Tables or spreadsheets
- Code or terminal output
- Logos or flat graphics
- Callouts and annotations
- Transparent backgrounds
- Multiple rounds of editing
This is especially important for tutorials and technical documentation. A screenshot might look acceptable in a quick chat message, but once you place it in a manual, a knowledge base article, or a client guide, every soft edge becomes easier to notice. Readers should not have to zoom in just to read a button label.
PNG files are usually larger than JPG, but for screenshots the quality tradeoff is often worth it. Storage is cheaper than wasted time, and unreadable screenshots create confusion fast.
When JPG makes sense
JPG works best for photographs and photo-like images. It is great when file size matters more than perfect edge quality. That means JPG is not usually the first choice for screenshots, but it can still be useful in some documentation projects.
JPG is a reasonable option when:
- Your image is mostly photographic
- The screenshot is large and text is limited
- You need very small files for email or chat
- Your CMS has strict upload limits
- The image will be viewed casually rather than studied closely
Think of product setup guides that include camera photos, training materials with pictures of printed forms, or tutorials for physical equipment. In those cases, JPG can shrink file size significantly.
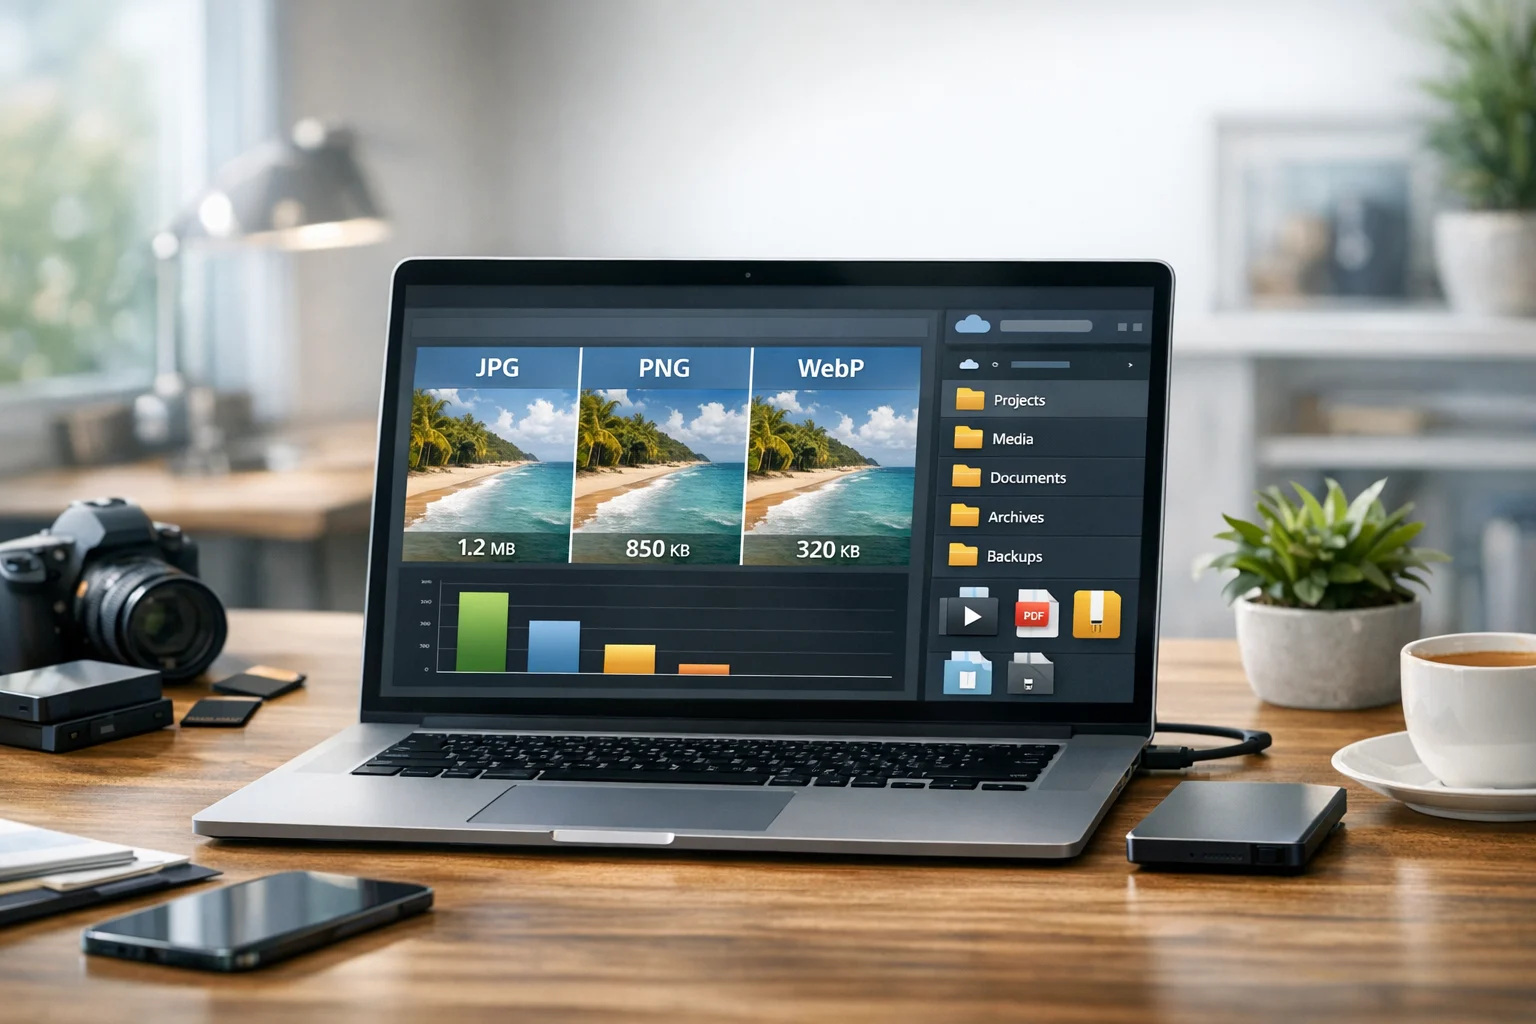
In the classic JPG vs PNG comparison, PNG usually wins for screenshots with text and interface elements, while JPG wins for photo-heavy visuals. If your screenshot contains detailed UI text, JPG can add visible artifacts around letters, borders, and icons.
If you captured a file as PNG and later need a lighter version for sharing, a PNG to JPG converter is a fast way to reduce file size. Just check the converted image before sending it, especially if the image contains small labels or numbers.
Where WebP fits in modern documentation
WebP is often the smartest choice for publishing screenshots on websites, help centers, onboarding pages, and online knowledge bases. It can provide smaller files than PNG while still looking very good, which helps with page speed and user experience.
WebP is a strong option when:
- You publish documentation on a website
- You want faster loading pages
- You need better compression than PNG
- You are optimizing screenshots for online sharing
The main WebP vs PNG question comes down to workflow. PNG is usually better as your source format because it is widely supported and easier to edit safely. WebP is often better as the final published format for the web because it reduces file size.
If you want that balance, keep a master PNG and export a lighter WebP version for your site. ConvertAndStore makes that easy with a PNG to WebP converter that is useful when you need cleaner web delivery without rebuilding the screenshot from scratch.
Best image type by use case
Internal SOPs and team documentation
Use PNG. Internal documents often go through revisions, comments, and repeated exports. You want screenshots that remain readable after multiple edits and copies.
Website tutorials and help center articles
Create and store the original in PNG, then publish in WebP if your platform supports it well. This gives you quality during editing and performance during publishing.
Slide decks and online courses
PNG is still the safest choice for anything with text, menus, forms, or charts. If file size becomes a problem, test WebP or carefully compressed JPG on less detailed images.
Photo-based instructions
Use JPG for smartphone photos, product shots, or real-world scenes. It is usually smaller and more practical for image-heavy training materials.
Annotated screenshots
PNG is best. Arrows, highlights, circles, and text labels stay much cleaner in a lossless format.
If you need to crop, resize, blur private details, or add simple visual edits before saving, ConvertAndStore also includes an image editor that helps prepare screenshots without adding extra steps to your workflow.
How compression changes quality
Many people confuse file compression with format conversion. They are related, but not the same.
- Format conversion changes the file type, such as PNG to JPG or PNG to WebP.
- File compression reduces file size, either losslessly or with some quality loss.
For screenshots, too much compression can damage readability. A file may look acceptable at a glance, but once someone tries to follow the tutorial closely, the text can feel soft or messy.
A useful rule is this:
- Use PNG when clarity is the priority
- Use JPG when smaller size matters more than fine text detail
- Use WebP for web publishing when you want a better size-to-quality balance
If you are deciding whether you should compress a file or change its format instead, this article on image compression vs image conversion can help you pick the right fix for the problem.
Best practices for readable screenshots
Even the best image format cannot rescue a poor capture. A few simple habits make a big difference:
- Capture at a readable zoom level
- Crop tightly around the important area
- Use consistent window sizes across a tutorial
- Add annotations before heavy conversion
- Keep a master copy before compressing
- Name files clearly so they are easy to reuse later
For example, instead of saving files as screenshot1.png and screenshot2.png, use names like account-settings-step-3.png or checkout-error-message.png. That small habit saves time once your documentation library grows.
How screenshots connect to PDFs and document workflows
Many tutorials do not stay as individual images. They end up inside manuals, reports, onboarding packets, SOPs, or customer guides. That is why the format question often overlaps with PDF workflows too.
If you want to turn a set of screenshots into one shareable handout, an image-to-PDF workflow is often the easiest solution. If you need to update an existing guide, you may also want to convert PDF files into images so you can reuse or replace individual pages. A PDF converter becomes useful as soon as documentation moves beyond one or two files.
Common tasks include:
- Combining screenshots into a training PDF
- Using PDF to JPG to extract a page image from an old guide
- Creating image-to-PDF handouts for classes or teams
- Saving tutorials as PDFs for offline access
For many users, the best workflow is simple: keep editable screenshot masters in PNG, create lighter web versions when needed, and export final guides as PDF for easier sharing.
What about archives and file bundles?
If you share a whole documentation package, you will often need more than one image. A tutorial project can include screenshots, PDF manuals, editable source files, short demo clips, branding assets, and notes. In those cases, bundling files into an archive is cleaner than sending everything separately.
A ZIP archive is usually the easiest option because nearly everyone can open it. If someone sends a RAR archive instead, it may be less convenient for some users, especially in mixed office environments. Standardizing archive format keeps things simpler for clients, coworkers, and students.
Archive files also help with versioning and file backup. Instead of dozens of scattered files across email threads and downloads folders, you can keep each project in a dated package and store it cleanly in your file system.
Mixed media tutorials: screenshots plus video
Many modern guides combine screenshots with short recordings. If you do that, image decisions and video decisions should work together. The same logic applies: choose a format based on quality, compatibility, and file size.
In the MP4 vs MOV comparison, MP4 is usually easier to share and more widely supported across browsers, office apps, training platforms, and mobile devices. If you need to convert video files for smaller uploads or broader compatibility, a video converter can save time the same way an image converter helps with screenshots.
This matters for creators recording product walkthroughs, marketers building landing page tutorials, developers sharing bug reproductions, and support teams sending quick fixes to customers. A polished documentation set often includes both still images and short videos, so your format choices should stay practical across both.
Storage, privacy, and long-term organization
Once you make screenshots regularly, file type becomes part of a bigger storage strategy. Raw PNG captures, edited versions, WebP exports, PDFs, archive files, and short videos can pile up quickly.
This is where cloud storage helps. Instead of keeping everything on one laptop or scattered across message threads, you can organize projects by client, department, course, or product area. For many people, cheap cloud storage is enough to keep active projects accessible without spending much. For more sensitive work, encrypted cloud storage and secure file storage are far more important than saving a few dollars.
Screenshots often contain private information such as customer records, dashboard metrics, internal URLs, billing details, usernames, or unpublished features. That is why document storage should not be an afterthought. It should be part of the process from the start.
A simple approach works well:
- Keep one master folder per project
- Store original screenshots in PNG
- Store exported versions in separate subfolders
- Use PDFs for final shareable documents
- Use ZIP files for complete project handoff
- Maintain regular file backup copies
For freelancers and small teams, that kind of structure reduces confusion. For businesses and office teams, it also makes approvals, reuse, and version control much easier.
Common mistakes to avoid
- Saving all screenshots as JPG by default
- Compressing images before checking text clarity
- Deleting the original PNG after conversion
- Using inconsistent sizes across a tutorial
- Sharing dozens of loose files instead of one organized archive
- Ignoring privacy before uploading screenshots to shared spaces
Most screenshot problems come from rushing. A few extra seconds spent choosing the right format and organizing files properly can save much more time later.
Frequently Asked Questions
PNG is usually the best choice because it keeps text, icons, and interface edges sharp without the artifacts that JPG can introduce.
Use JPG when the image is mostly photographic and file size matters more than perfect text clarity. For app screens, dashboards, and annotated screenshots, PNG is usually better.
WebP is often better for publishing documentation on websites because it can reduce file size while keeping good quality. PNG is still a safer master format for editing and compatibility.
Yes. An image to PDF workflow is a common way to combine screenshots into one guide, training handout, or shareable manual.
Start by choosing the right format. Keep PNG for important text-heavy screenshots, then test WebP for web use or JPG for less detailed images. Always review small text after conversion or compression.
Store original files in organized folders, keep backup copies, and use secure file storage or encrypted cloud storage if the screenshots contain sensitive or internal information.